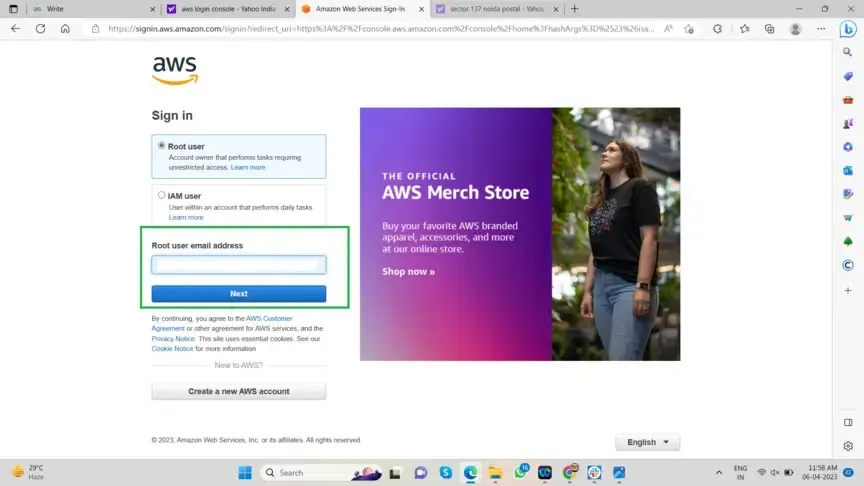
Creating an AWS account is the first step to accessing AWS's powerful cloud tools. Once your account is set up, you can use AWS's vast range of services to manage and scale applications.
- AWS Free Tier lets users explore services for free within usage limits, but sign-up requires a valid payment method for verification.
- Some services are free for 12 months while others remain always free, and exceeding limits results in charges.
- Available globally, though some services or features may vary by Region.
Prerequisites
Before getting started, make sure you have the following.
- Email Address: A valid email address to create and verify your AWS account.
- Payment Method: A valid credit card, debit card, or UPI ID is required for identity verification. You will not be charged unless you exceed Free Tier limits.
Note: UPI is supported as a payment method for AWS accounts created in India. This makes it convenient for Indian users to verify and set up their accounts without a credit or debit card.
Eligibility for the AWS Free Tier
The AWS Free Tier offers limited access to various AWS services for new AWS customers to explore and try out the platform at no cost for a specified period. Eligibility criteria for the free tier include:
| Criteria | Details |
|---|---|
Who can Use it? | Anyone signing up for AWS for the first time |
How long it lasts | 6 months, or until your free credits run out whichever happens first |
Free credits | You get $100 to start, and can earn up to $100 more, so max you can get $200 in free account |
Usage limits | Each service lets you use a small amount for free and if you go over that then you have to pay |
Different limits per service | Some services (like storage) give more free usage than others (like compute) |
Geographic availability | Available worldwide (except AWS GovCloud US and China Regions) |
Payment method | Valid card or UPI (for Indian accounts) required at sign-up and you are charged only if limits are exceeded |
Account verification | Identity verification required to activate the Free Tier |
Students/educators | Can get extra free credits through AWS Educate |
Steps to Create an AWS Free Tier Account
Follow the below steps to create an AWS Free Tier Account:
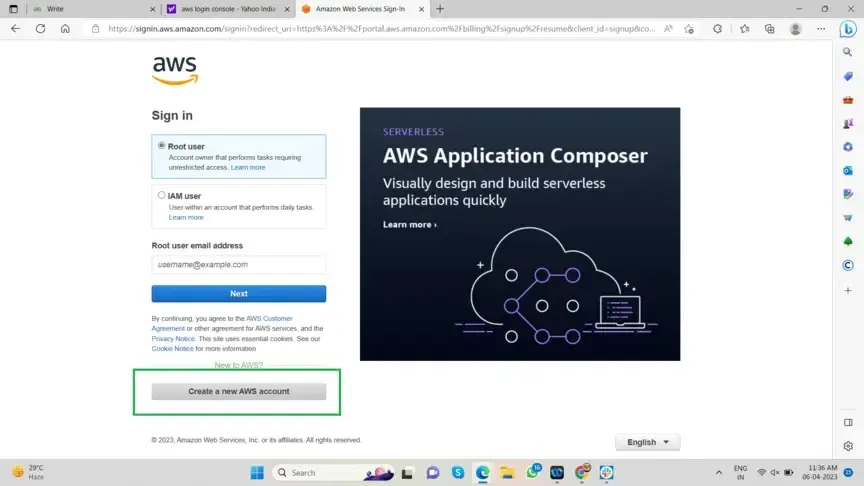
Step 1: Visit the AWS Free Tier Sign-Up Page
To get started, go to the official AWS website. Click on "Create Free Account" button to begin the sign-up process.
Step 2: Create an AWS Account
- You’ll need to provide your email address and choose a unique AWS account name.
- AWS will send a verification code to your email address. Enter this code on the sign-up page to confirm your email.
- After entering the code, click on "Verify Email Address" to move to the next step.
Step 3: Set the Root User Password
- Choose a strong password for your root user account. This is the account with full access to all AWS resources.
- Re-enter the password to confirm.
- Once you’ve set the password, click on "Continue" to proceed.
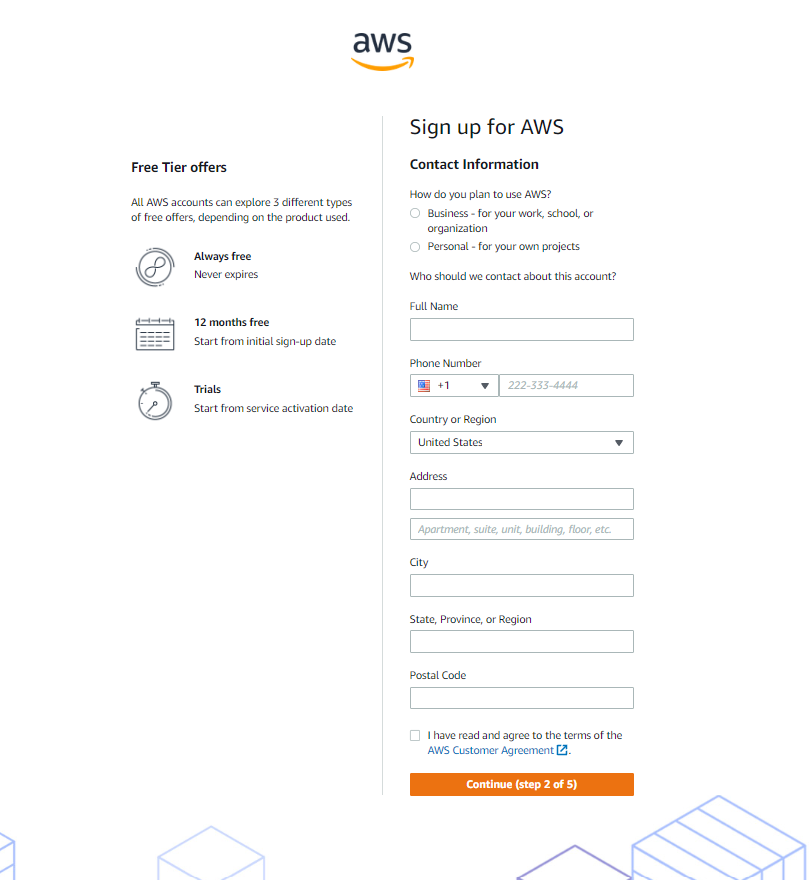
Step 4: Select Account Type
- Since you are creating the account for your own use, select "Personal - for your own projects."
- Fill in details like your full name, contact number, country, and address.
- After entering your information, click on "Continue."
Step 5: Billing Information
- Enter billing details.
- Click "Verify and Continue".
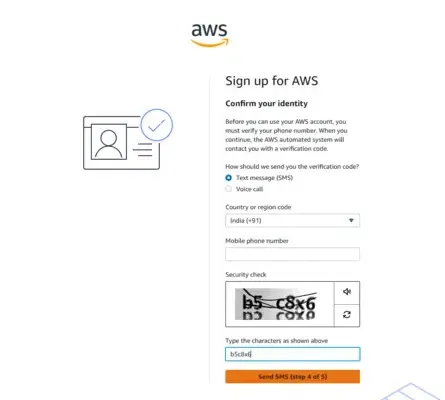
Step 6: Verify Your Identity
- It will ask you to confirm your identity using your mobile number or email.
- AWS will send a verification code to your chosen method (mobile or email). Enter the code on the verification page.
- Once your identity is verified, click "Continue" to proceed.
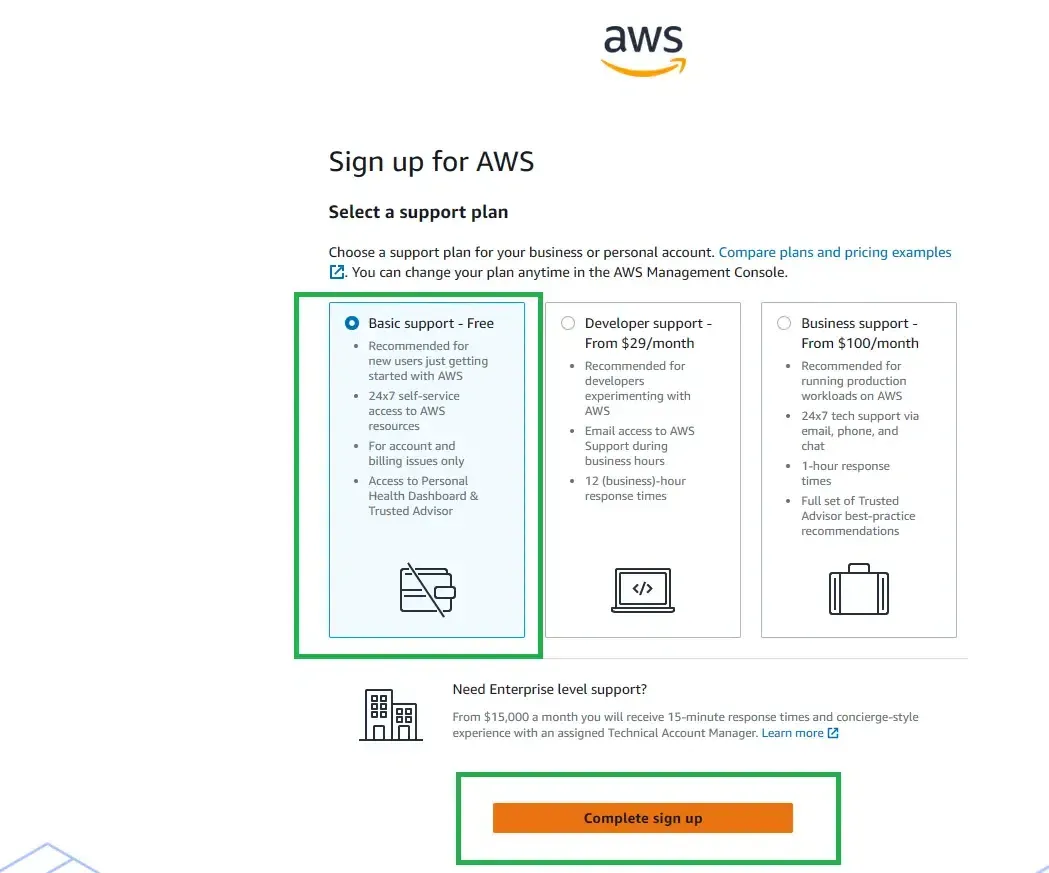
Step 7: Select a Support Plan
- Select the free support plan offered by AWS. This plan provides access to basic support resources, and it’s perfect for beginners.
- After selecting the support plan, click "Continue."
Step 8: Confirm Your Account
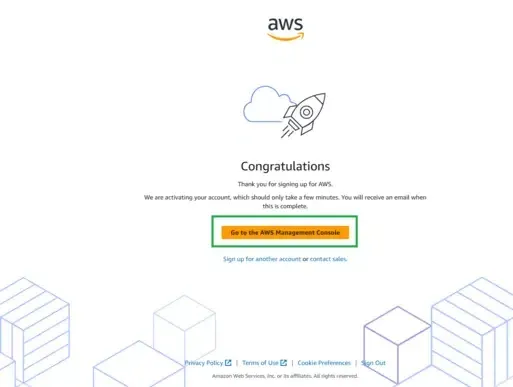
- Once you’ve gone through all the steps, your AWS account is successfully created.
- You can now log in to your AWS account and start using the Free Tier services.
Enter your email address and previously-configured password.