Dirb is an open-source web content scanner developed to enumerate hidden files and directories on web servers using dictionary-based attacks. It sends HTTP requests for entries contained in a wordlist and analyzes server responses to determine whether a resource exists. Core Focus & Use Cases:
- Exposed Admin Panels: Hidden login paths like /admin, /backend, or /manager.
- Leftover Backups: Discarded archive files such as .zip, .tar.gz or .bak configurations.
- Sensitive Assets: Exposed source code repositories (/.git/), logs or developer uploads.
- Information Disclosure: Configuration files that leak database credentials or system architecture details.
Dirb Working
Dirb follows a precise, linear execution pattern to systematically map out an application's hidden structure:
- Target & Configuration Input: The user inputs the base URL (e.g., http://target.com) and selects a wordlist. If no wordlist is specified, Dirb defaults to its standard internal dictionary.
- Wordlist Parsing: The tool loads the text file into memory, processing each line as an independent payload string.
- HTTP Request Generation: Dirb constructs a unique HTTP GET request for every word by appending it to the target URL (e.g., http://target.com).
- Server-Side Execution: The target web server processes the request and returns an HTTP response header containing a three-digit status code.
- Status Code Interpretation: Dirb acts strictly on the status code received: 200 OK: Validates a directly accessible webpage or file. 301 / 302 Redirect: Indicates a path change, often pointing to authentication portals or updated folders.
- Discovery Logging: All successful discoveries (200, 301, 403) are instantly printed to the terminal screen and saved to an output log file if configured.
Installation of Dirb on Kali Linux
Generally, Dirb is pre-installed in Kali Linux but in case you are using some different Linux distro other than Kali Linux then use the following command in the terminal (Command Line Interface):
sudo apt-get install dirb
After installation, it can be verified using just a simple instruction
dirb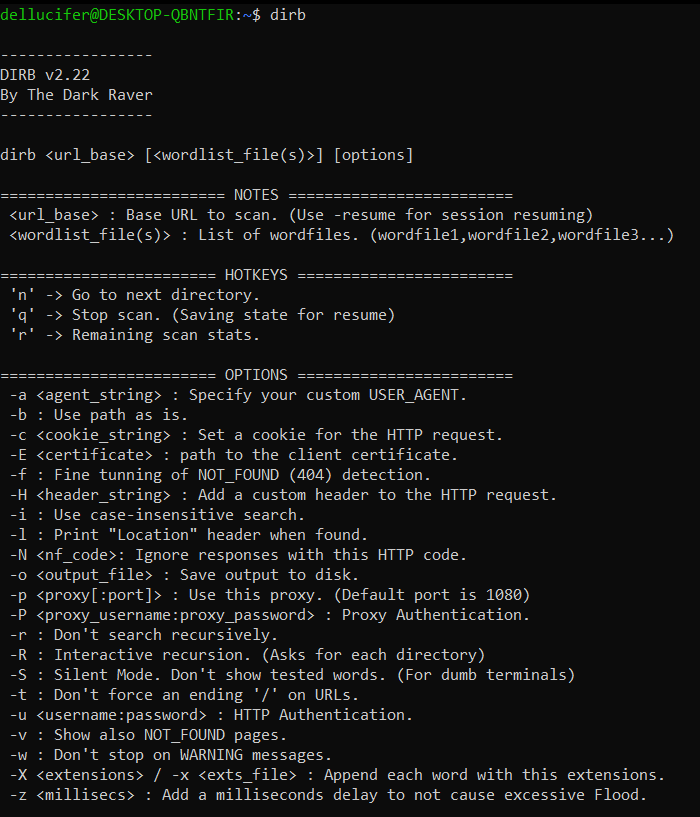
Usage of Dirb
Example 1: Scanning single domain
Once installed, you can start using Dirb by opening a terminal window and typing the following command:
dirb http://example.com/At the place of http://example.com/, you can use the URL (Uniform Resource Locator) of your choice of target. With its default wordlist, it will start brute forcing directories with around 4600 words.
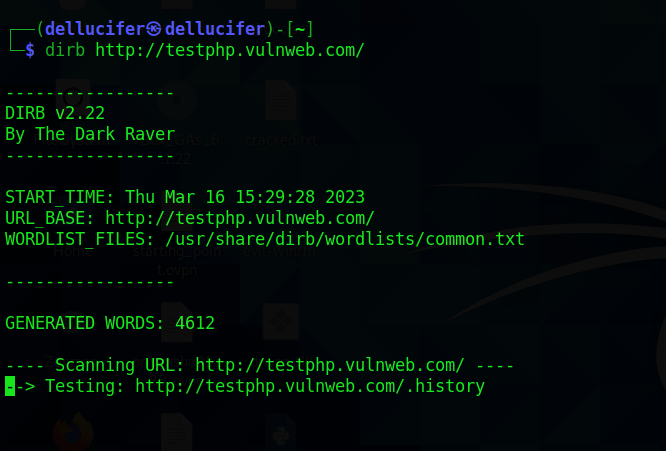
The results list includes the response code and the size of the file for each ping. In addition, dirb begins examining the folder's files, returning the response code 200. It uses the wordlist to search all folders and presents the results.

If you want to scan a target with a different wordlist, then it can be done easily using the following command:
dirb http://www.example.com/ -w wordlist.txtYou can also specify the path of the wordlist instead of the direct filename in case you are in a different directory.
Example 2: Using multiple wordlists
The usual wordlist_files common.txt is used by the aforementioned attack, but we are able to alter this word list and can choose a different wordlist for directory traversal. To examine all of the accessible wordlists, you must take the following route.
cd /usr/share/wordlists/dirb && ls -la
cd /usr/share/wordlists/dirb/vulns && ls -la


Example 3: Default Working
By default, Dirb uses common.txt as a wordlist which we can find in below mentioned directory.
/usr/share/wordlists/dirbAnd there's no need to mention this default wordlist while using Dirb in default mode. Dirb can be used in default mode by using the below snippet:
dirb http://example.com/Example 4: Saving Output to a file
We save the result of the dirb scan onto a file for the purpose of record management, improved reading and future references. To do this, we'll use the dirb scan option -o, which allows us to save the results as a text file.
dirb http://example.com/ -o result.txt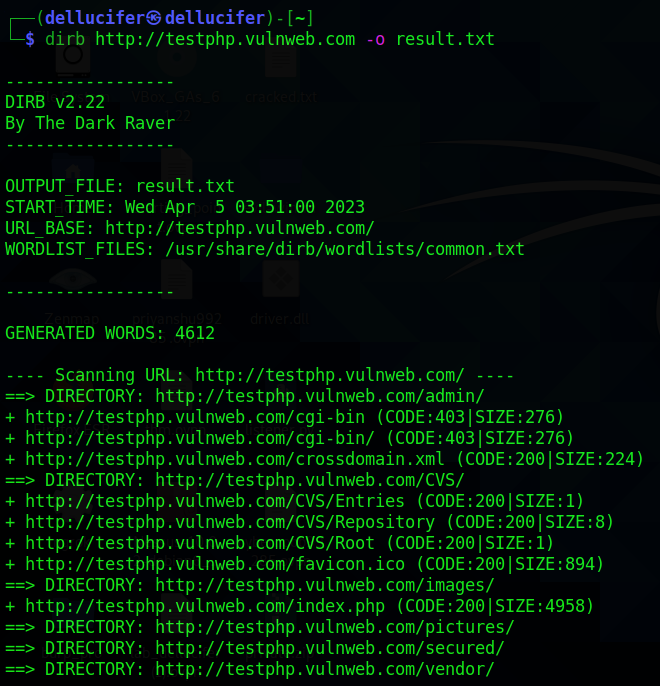
As the -o switch is used, the output will get saved in the results.txt file. Let's check on that file:

Example 5: Limiting enumeration with specific extensions
The -X option of the dirb scan can be used in a variety of circumstances where we need to retrieve the directories on the target server that have a particular suffix. This parameter takes the file extension name and then scans the target server or computer for files with the specified extension.
dirb http://example.com/ -X .php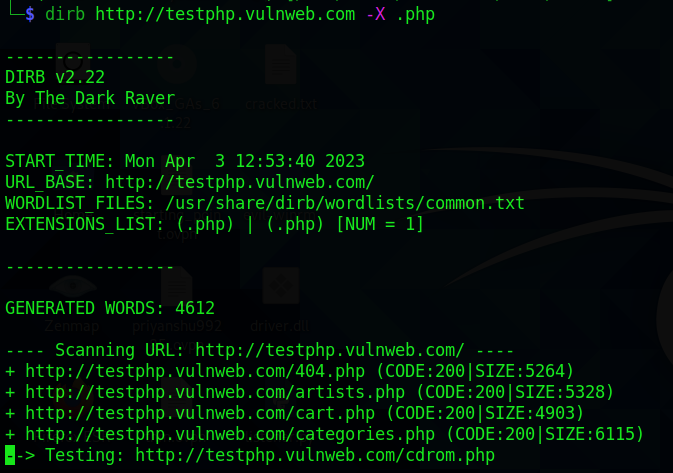
Example 6: Ignoring specific status codes
The Status-Code element is a three-digit integer whose first digit designates the answer class and who's last two digits serve no classification purpose. As shown below, we are using the -N option on code 302 in this assault. This can be achieved by using a flag -N with desired value to ignore the status code.
dirb http://example.com/ -N 302
Example 7: Speed Delaying
When working in various situations, there are some environments that we encounter that cannot manage the flood caused by the dirb scan; it is crucial that we postpone the scan for a while in these environments. Using the dirb scan's -z option makes this simple to accomplish.
dirb://example.com -z 100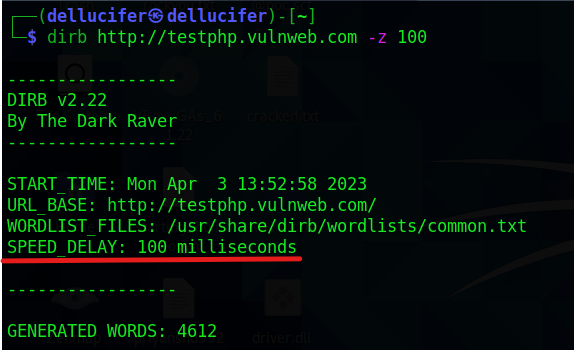
Example 8: Without recursiveness
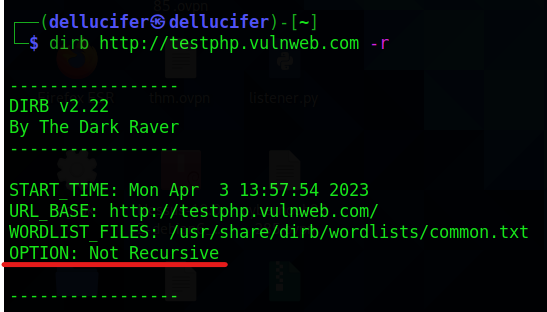
By default, the dirb search traverses all folders. It entails scanning a path and then moving around within it to look for additional subcategories. However, we configured the dirb to not search recursively in some circumstances where there is not enough time. The -r option can be used to accomplish this.
dirb http://example.com/ -r