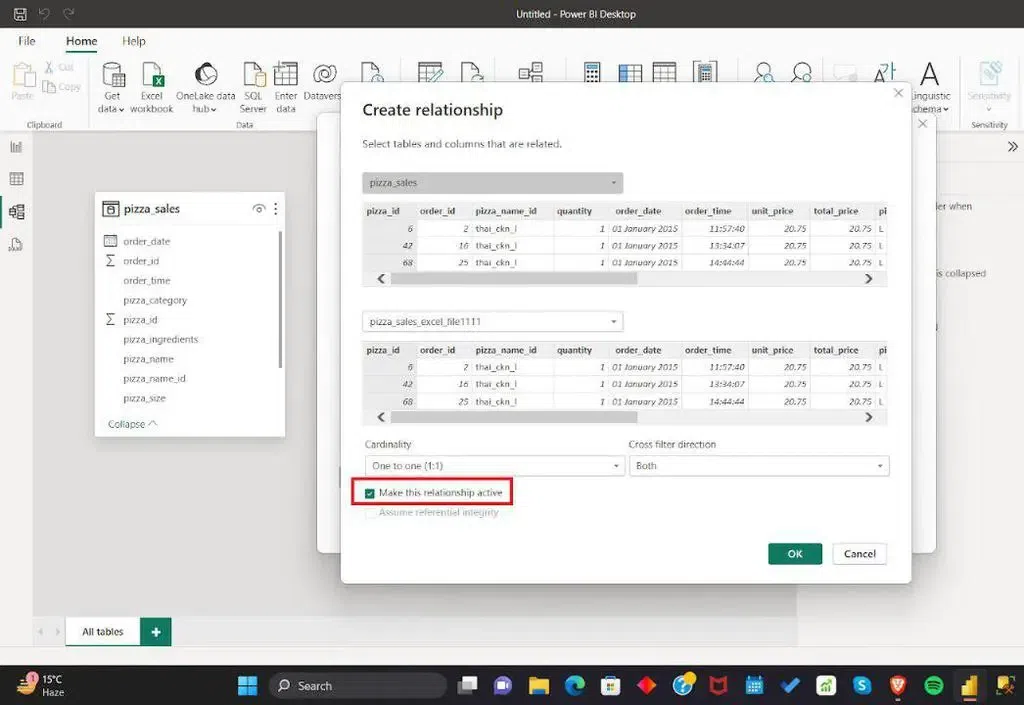
Power BI allows users to create data models by establishing relationships between related tables. These relationships connect tables through common columns and allow filters and calculations to work across the model. Power BI can automatically detect some relationships, while others can be created or modified manually. In this article, we will learn how to create and manage table relationships and build a data model in Power BI Desktop.
Types of Table Relationships
Power BI uses relationships to define how tables are connected through related columns. The main relationship types are:
- One to One (1:1): Each value in the related column of one table corresponds to at most one value in the related column of the other table.
- One to Many (1:*): A value in one table can be related to multiple rows in another table. This is one of the most common relationship types in Power BI.
- Many to One (*:1): Multiple rows in one table are related to a single row in another table. This is the same relationship as one-to-many, viewed from the opposite direction.
- Many to Many (:): Multiple rows in each table can contain the same related values. Power BI supports many-to-many relationships directly, although a bridge table is often used when designing a more structured data model.
How to Create Relationships
Power BI can automatically detect relationships between tables or you can create them manually when you need more control.
1. Autodetect
Power BI can automatically identify potential relationships when data is loaded. It uses information such as column names and the data in those columns to determine whether a relationship can be created.
2. Manual Creation
You can manually create a relationship when Power BI does not detect one or when you want to control the tables, columns, cardinality, cross-filter direction and active status.
1. Creating Relationships with Autodetect
If Power BI has not already detected relationships between the loaded tables, you can run Autodetect manually.
Step 1: Load the required tables into Power BI Desktop.
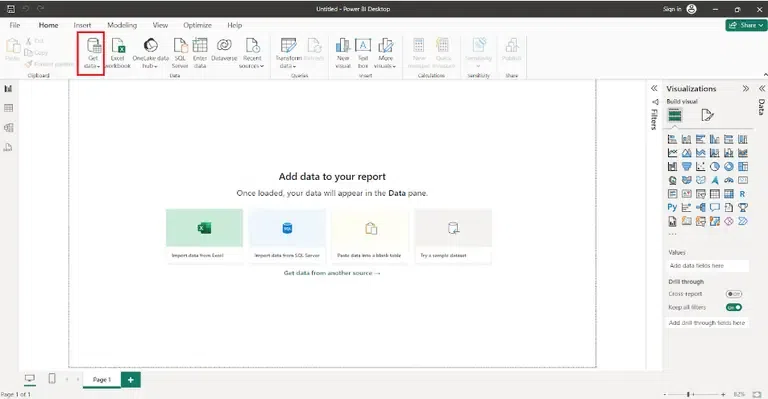
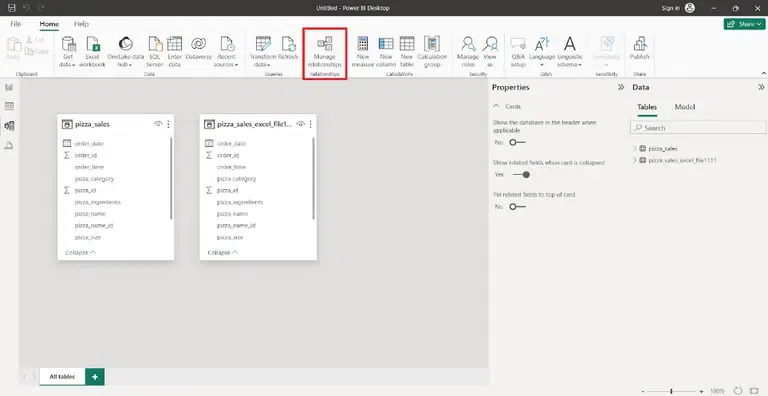
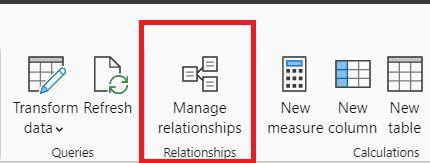
Step 2: On the Modeling tab, select Manage relationships.
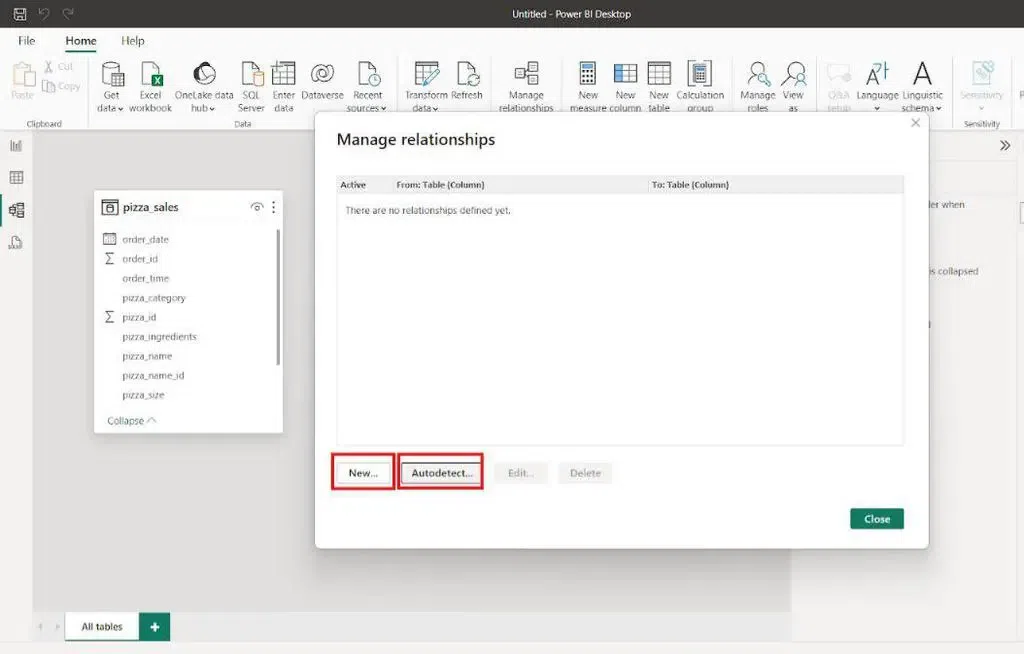
Step 3: Select Autodetect.
Step 4: Review the relationships detected by Power BI and select OK.
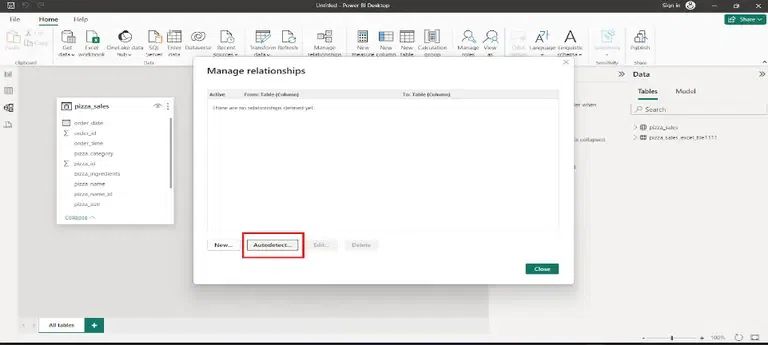
Power BI creates relationships when it can identify a sufficiently confident match between columns in the tables.
2. Creating a Relationship Manually
You can manually create a relationship when Power BI does not automatically detect the required relationship or when you want to control its settings.
Step 1: Load the required tables into Power BI Desktop.
Step 2: On the Modeling tab, select Manage relationships.
Step 3: Select New.
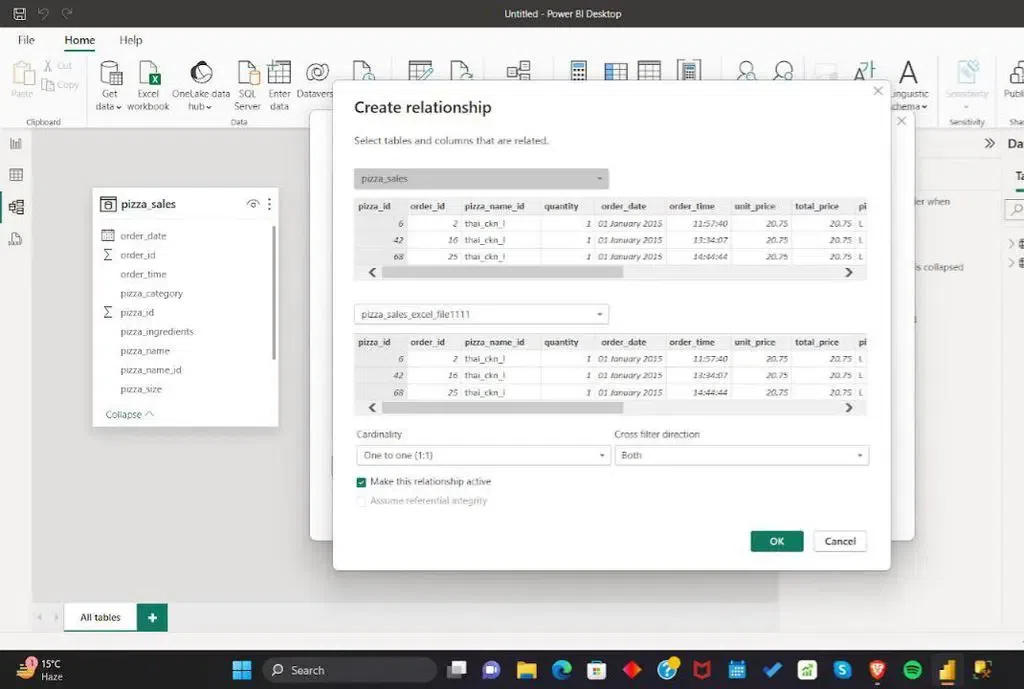
Step 4: Select the first table and the column that will be used for the relationship. Then select the second table and its corresponding column.
Step 5: Review the relationship settings, including Cardinality, Cross filter direction and whether the relationship should be Active.
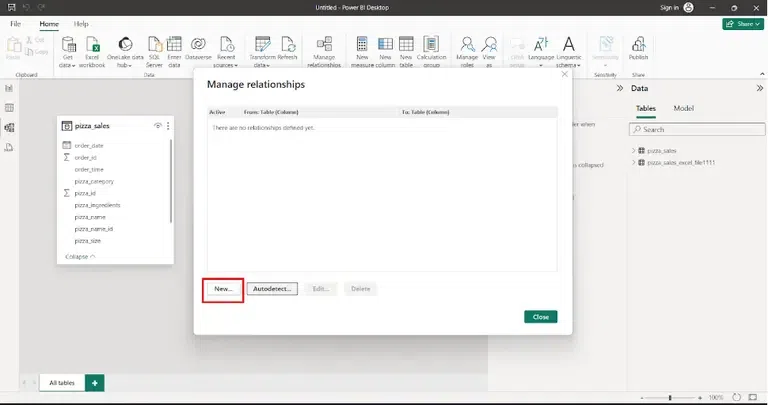
Step 6: Select OK to create the relationship.
For a one to many or many to one relationship, the column on the "one" side must contain unique values.
Edit Relationships
After creating a relationship, you can modify its settings when required.
1. Using Model View: Open Model view to see the tables and their relationships. Select or double click a relationship line to open its settings. You can then modify properties such as cardinality, cross filter direction and active status.
2. Using Manage Relationships: On the Modeling tab, select Manage relationships. Select the relationship you want to change and choose Edit. Modify the required settings and apply the changes.
3. Using the Properties Pane: In Model view, you can also select a relationship and modify its properties from the Properties pane. This provides another way to manage relationship settings.
Configure Relationship Options
When creating or editing a relationship, Power BI provides several options that control how the relationship behaves.
1. Cardinality
Cardinality defines how values in one table relate to values in another table. For example, a Customer table may have one row for each customer, while a Sales table can contain multiple rows for the same customer. This creates a one to many relationship.
2. Cross Filter Direction
Cross filter direction determines how filters propagate between related tables.
- Single: Filters propagate in one direction. For a typical one to many relationship, filtering flows from the one side to the many side.
- Both: Filters can propagate in both directions between the related tables.
Single direction filtering is generally preferred for straightforward data models. Bidirectional filtering should be used only when required because it can create ambiguous filter paths in complex models.
3. Active Relationship
An active relationship is the default relationship used by Power BI when propagating filters between tables. When multiple relationship paths exist, only one relationship path between the same tables can be active at a time. Additional relationships can be kept inactive and activated in specific DAX calculations when required.
Building a Data Model
Creating relationships is one part of building a data model. A typical modeling workflow includes the following steps:
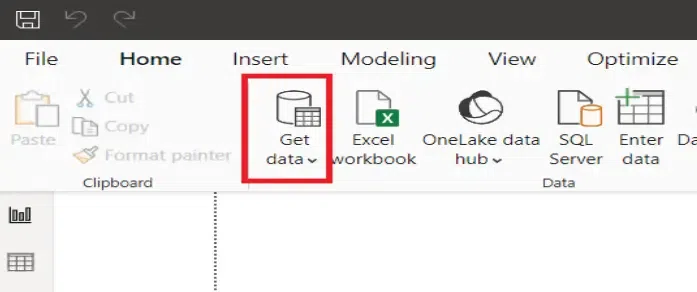
1. Load the Data
Connect to the required data sources and load the relevant tables into Power BI Desktop.
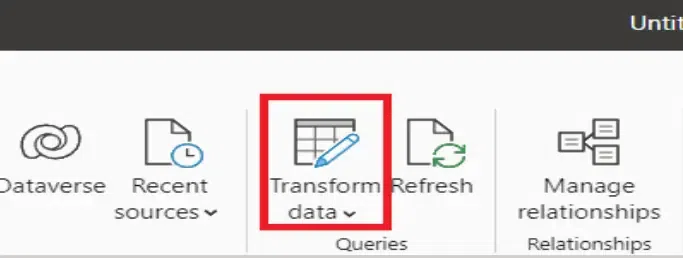
2. Transform & Clean the Data
Use Power Query Editor to clean, transform and shape the data before loading it into the model.
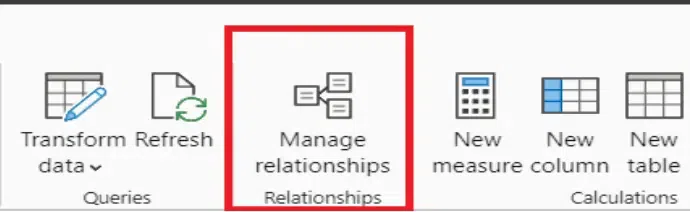
3. Define Table Relationships
Create relationships between related tables using common columns. Set the appropriate cardinality, cross-filter direction and active status.
4. Organize the Model
Arrange tables logically and use a suitable modeling structure. For analytical models, a star schema is commonly used, with a central table containing transactional data connected to related lookup tables.
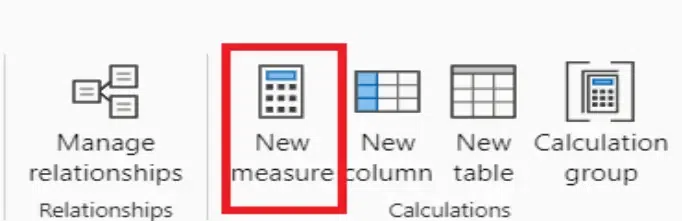
5. Create Measures
Create DAX measures for calculations that are required for analysis and reporting.
A well-structured data model makes it easier to build accurate reports and perform calculations across related tables.
How to Make Relationship Active
To activate a relationship in Power BI follow below steps:
1. Open Power BI Desktop: Launch Power BI Desktop and open the Power BI project.
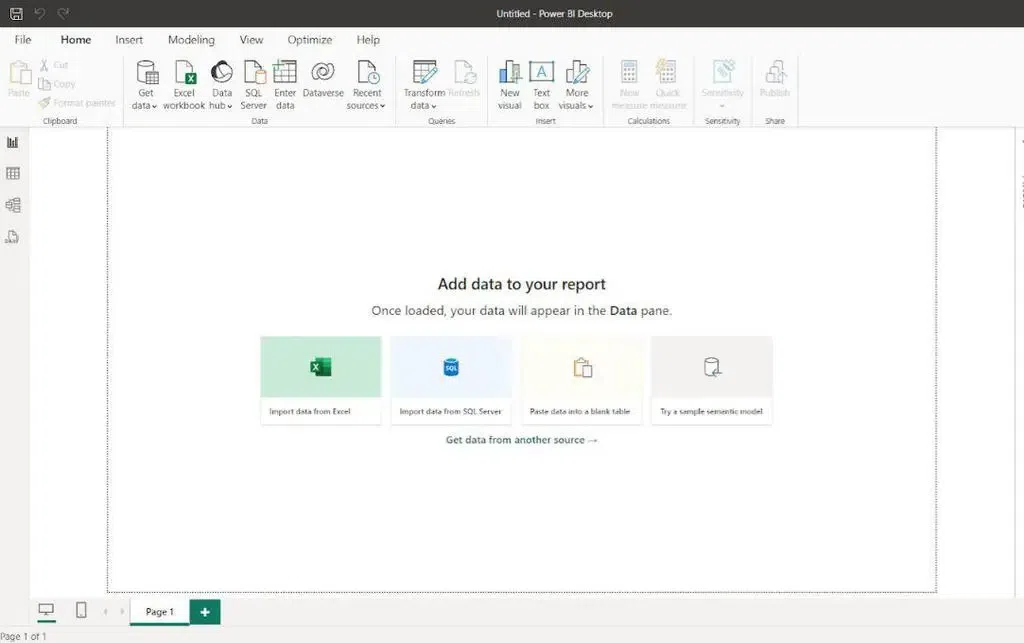
2. Navigate to "Relationships" View: Go to the "Model" view by clicking on the "Model" icon on the left side of the screen.
3. Identify the Relationship: Locate the relationship we want to activate between two tables.
4. Edit Relationship: Right-click on the relationship line and choose "Edit Relationship" from the context menu.
5. Configure Relationship Options: In the "Edit Relationship" dialog, ensure that the "Active" option is checked.