

After inserting an image, use the Picture Format tab (appears when the image is selected) to resize, crop, and format it professionally.
1. Resize an Image
Method 1: Resize with the mouse
Step 1: Click the image to select it.
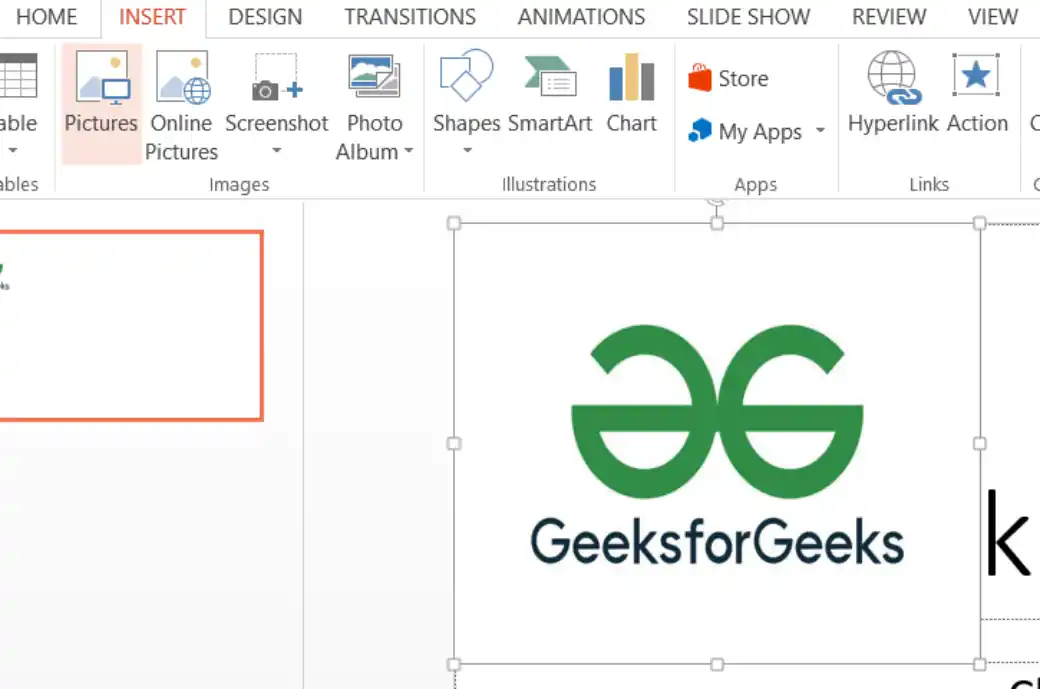
Step 2: Drag any corner handle.
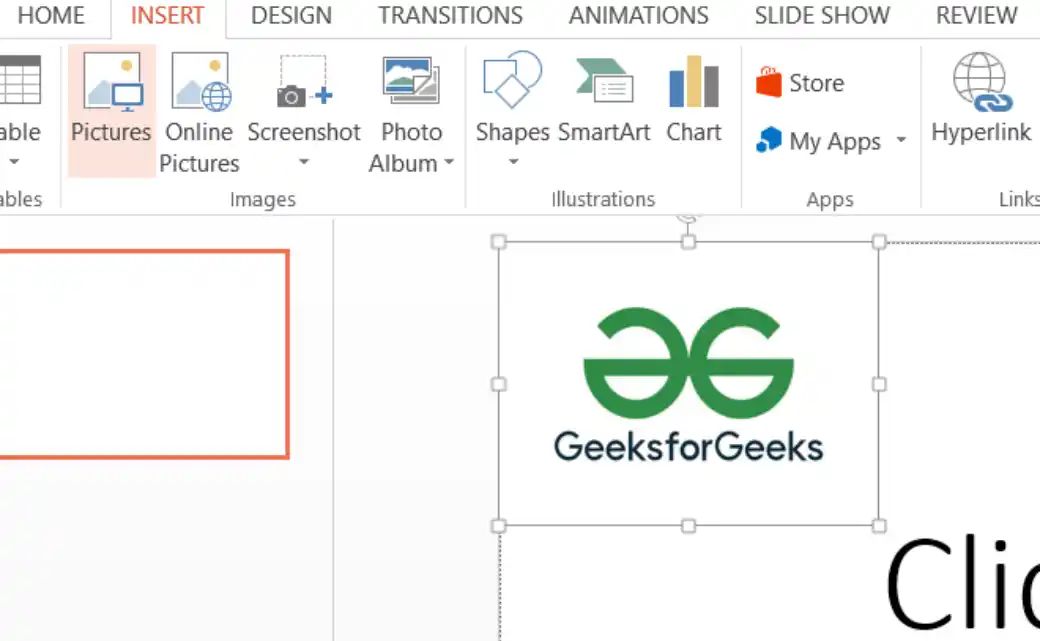
Method 2: Resize to exact size
Step 1: Select the image.
Step 2: Go to Picture Format tab → Size group.

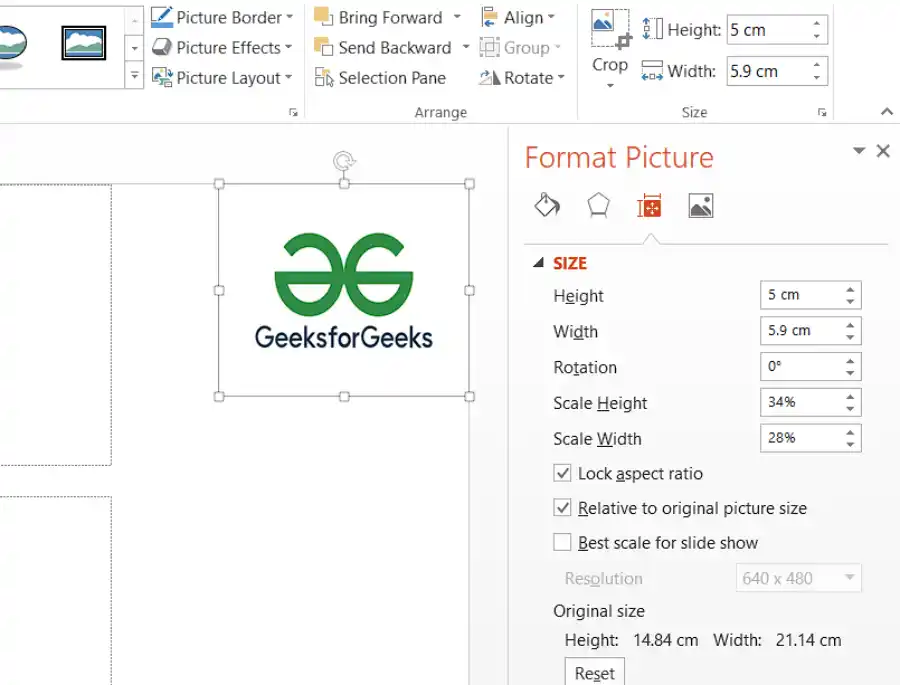
Step 3: Enter values in the Height and Width boxes.
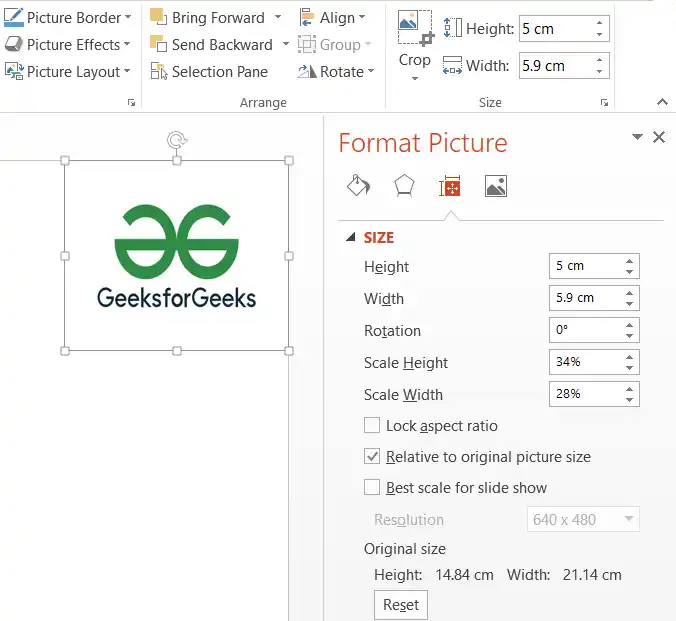
Step 4: Ensure Lock aspect ratio is checked to keep proportions.
2. Crop an Image
Method 1: Basic cropping
Step 1: Select the image.
Step 2: On the Picture Format tab, click Crop.
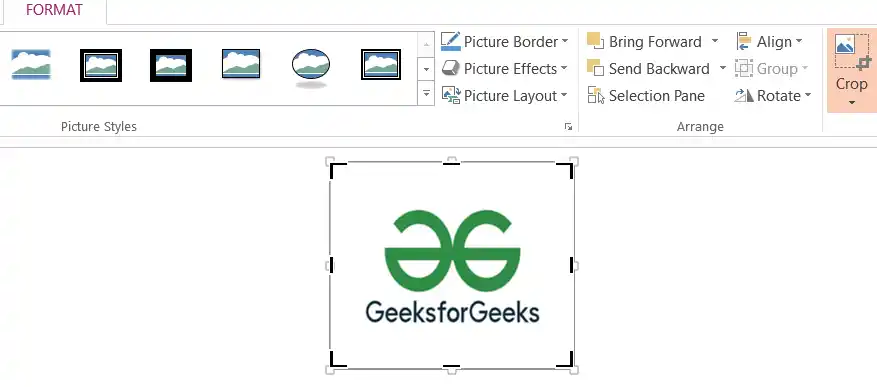
Step 3: Drag the black crop handles inward.
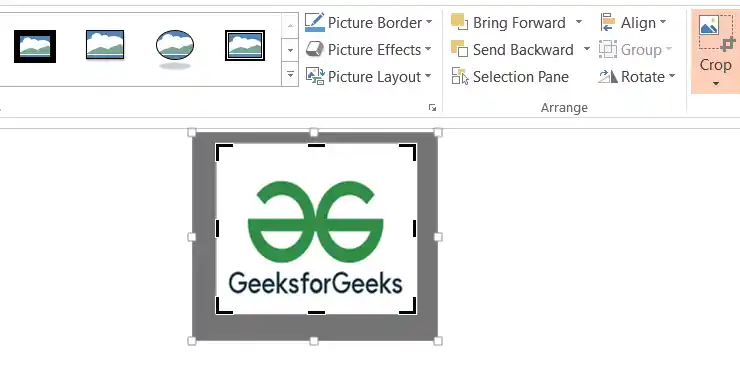
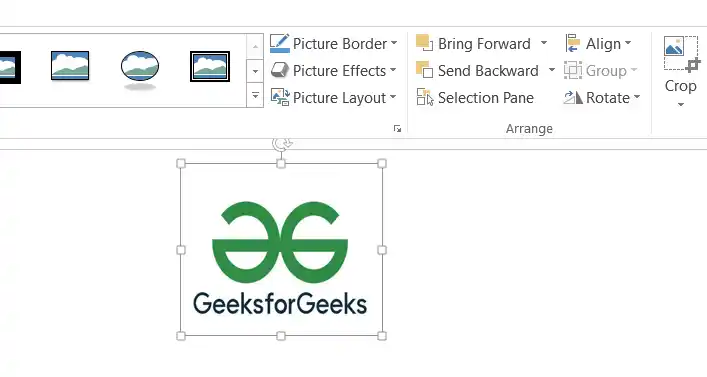
Step 4: Click outside the image or press Esc to apply.
Method 2: Advanced cropping options
Step 1: Select the image.
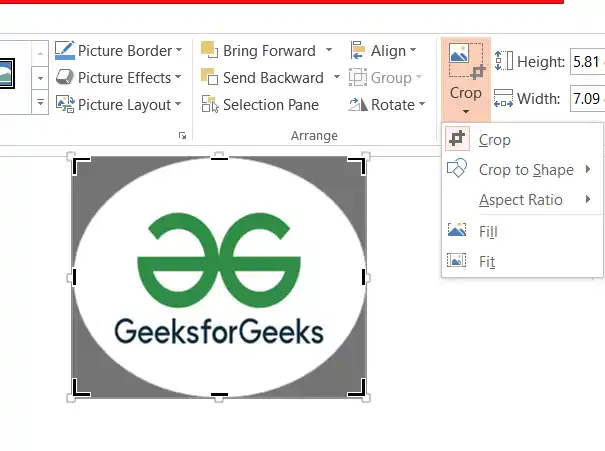
Step 2: Click the dropdown arrow under the Crop button.
Step 3: Choose one of the following:
- Crop to Shape : Select a shape (circle, rounded rectangle, star, etc.).
- Aspect Ratio : Choose 1:1, 16:9, 4:3, etc.
- Fill : Image fills the area completely (may cut edges).
- Fit : Entire image stays visible (may leave empty space).
3. Format Images
Method 1: Apply Picture Styles
Step 1: Select the image.
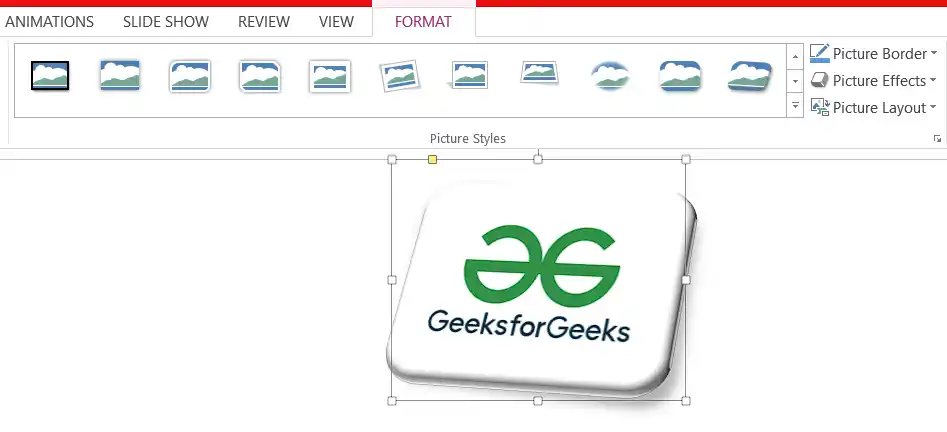
Step 2: On the Picture Format tab, open the Picture Styles gallery.

Step 3: Choose a ready-made style (frames, shadows, reflections, soft edges).
Method 2: Add Picture Effects
Step 1: Select the image.
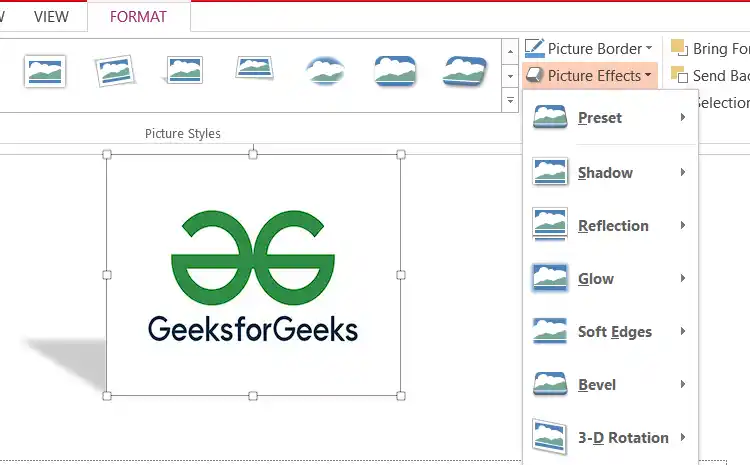
Step 2: Click Picture Effects.
Step 3: Apply Shadow, Reflection, Glow, Soft Edges, Bevel, or 3-D Rotation.
Method 3: Adjust Corrections and Color
Step 1: Select the image.
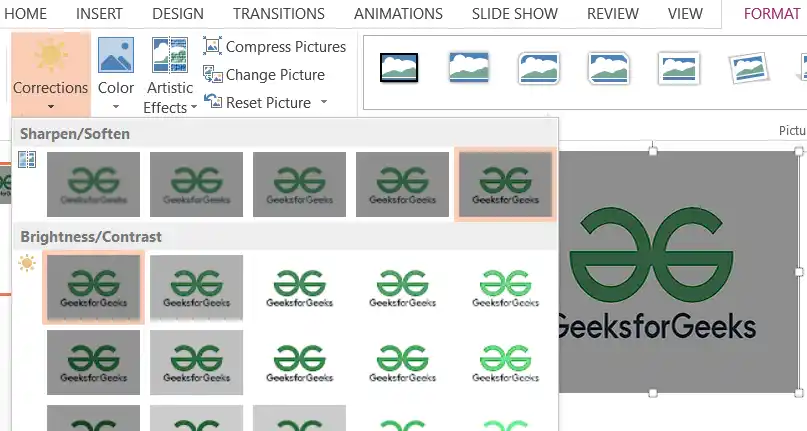
Step 2: Click corrections to adjust brightness, contrast, or sharpness.
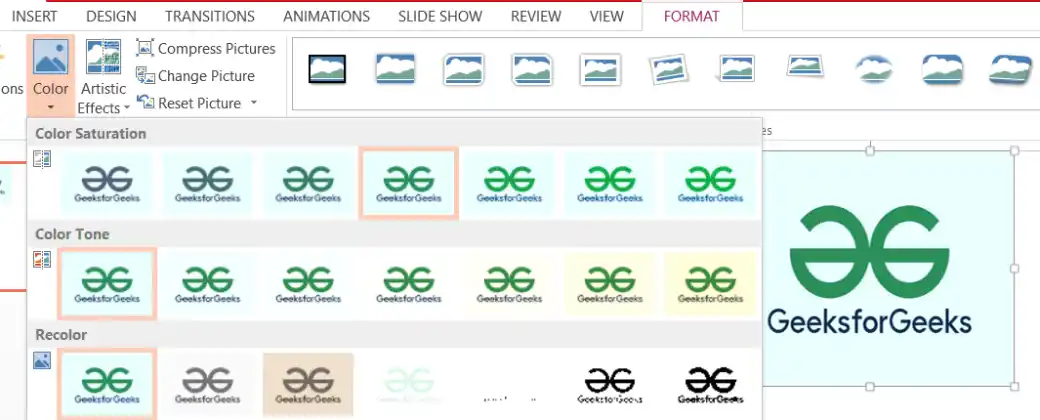
Step 3: Click color to Change saturation, tone, or recolor (grayscale, washout, etc.).
Step 4: Use transparency to make the image partially see-through.
Method 4: Remove Background
Step 1: Select the image.
Step 2: Click Remove Background.
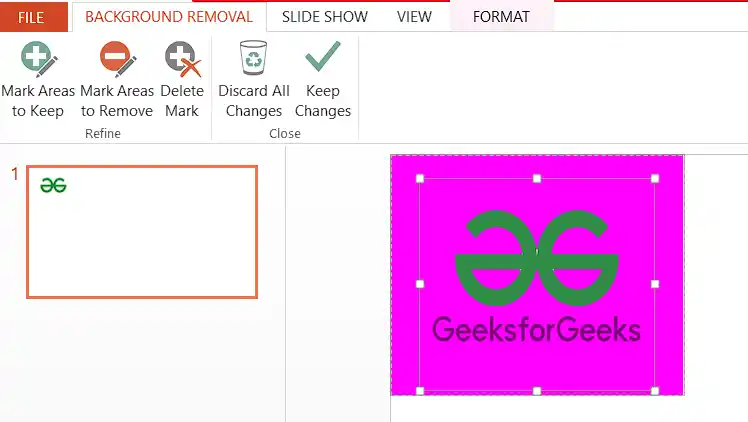
Step 3: PowerPoint marks areas to keep (magenta) and remove.
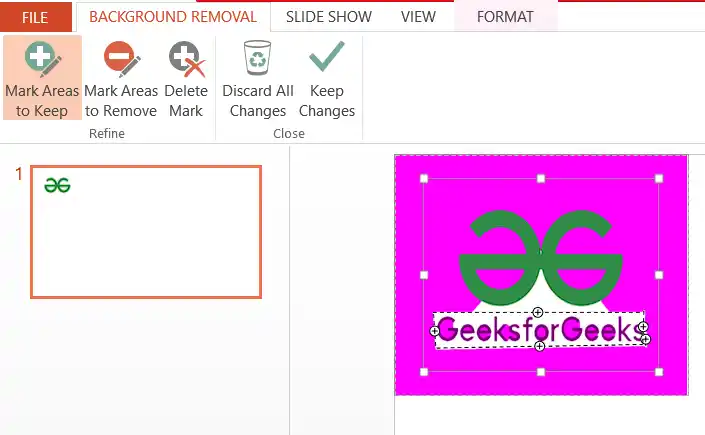
Step 4: Use Mark Areas to Keep or Mark Areas to Remove tools to refine.
Step 5: Click Keep Changes.
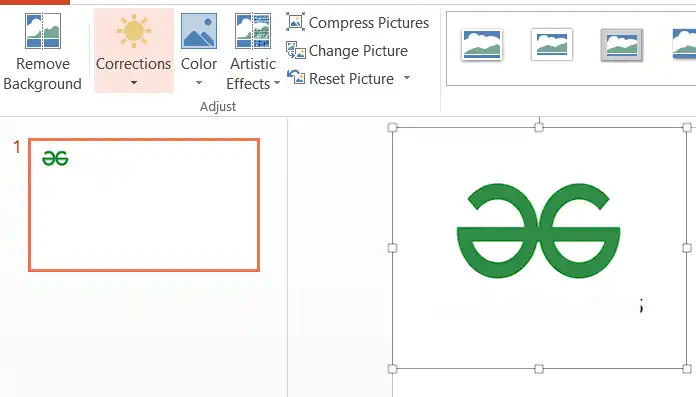
Method 5: Compress Pictures
Step 1: Select the image.
Step 2: Go to Picture Format and select Compress Pictures.
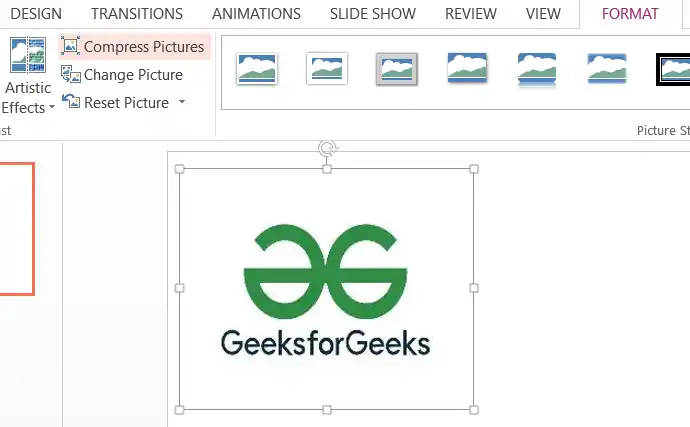
Step 3: Choose the desired resolution and options.
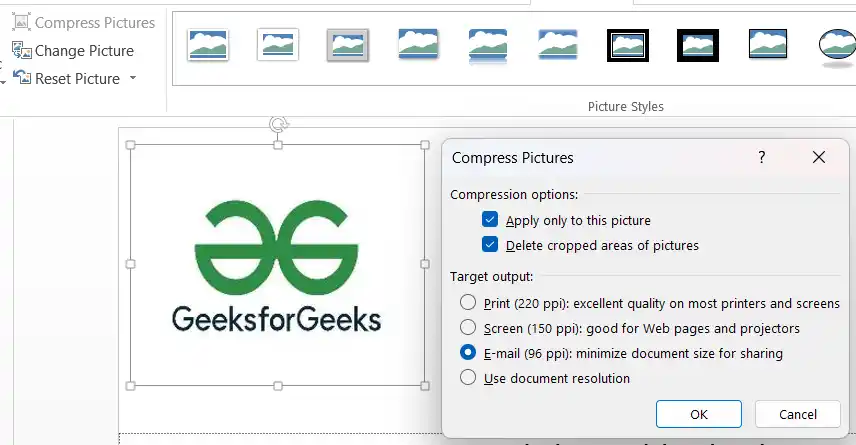
Step 4: Click OK.
