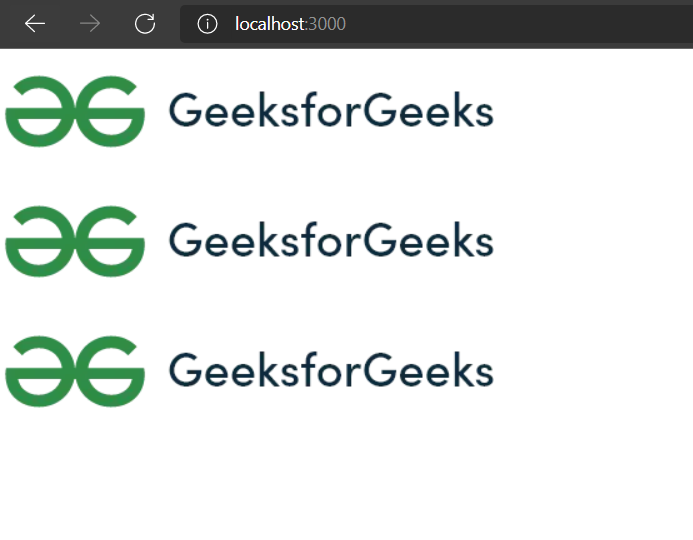
Importing images in Next.js allows developers to optimize images automatically using the built-in next/image component. It improves performance with features such as automatic image optimization, lazy loading, responsive sizing, and support for modern image formats.
- Improved Performance: It serves different image sizes for each device, which reduces image size for smaller devices and thus improves performance.
- Faster Page Loads: Images are not loaded until they enter the viewport, hence enabling the web page to load faster.
- Asset Flexibility: It supports various configurations such as resizing the Image component via props.
- Visual Stability: It automatically prevents Cumulative Layout Shift, which is a layout error that occurs when elements get shifted after being rendered by the DOM. It determines the overall stability of our website's layout
Properties of Image Component
The image component supports the following props:
- src: This property accepts a path string, an external URL, or a locally imported image.
- width: It represents the image's rendered or original width in pixels. For locally imported images, this property is optional.
- height: It represents the rendered height or the image's original height in pixels. For locally imported images, this property is optional.
- fill: Makes the image fill its parent container. The parent element must have position: relative
- priority: Loads the image eagerly instead of lazy loading. Useful for above-the-fold images.
- quality: Sets the image quality from 1 to 100.
- placeholder: Displays a placeholder while the image is loading. It supports blur and empty values.
Working with Image Component
Run the following command to create a new Next.js project.
npx create-next-app@latest my-next-app
cd my-next-app
Project Structure
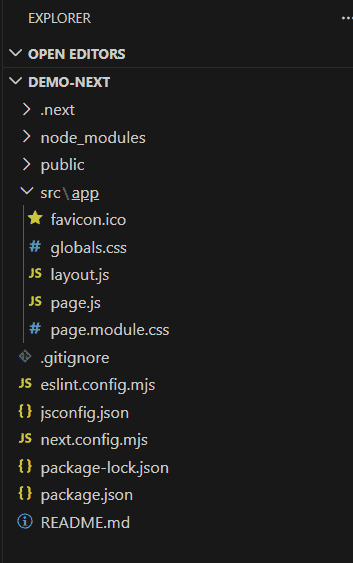
- Here, we will focus only on the public and src/app directories in a Next.js project.
- The public directory stores static files that are served when the Next.js app is built and deployed.
- Here, three images with different sources will be added.
- The first image will be imported directly from the public directory.
- The second image will be served using a static path from the public directory.
- The third image will be loaded from an external URL.
- An example image gfgLogo.png is added to the public directory.
- For external images, the domain must be added in next.config.mjs to allow access and prevent malicious usage.
We'll first clean up some boilerplate code in the src/app/page.js and import the Image component.
import Image from "next/image";
import gfgLogo from "../../public/gfgLogo.png";
export default function Home() {
  return (
    <>
      {/* This is a local import, so the
      height and width props are optional */}
      <div>
        <Image
          src={gfgLogo}
          alt="GFG logo imported from the public directory"
        />
      </div>
      {/* This image is also served from the public
      directory using a static path */}
      <div>
        <Image
          src="/gfgLogo.png"
          alt="GFG logo served using a static path"
          width={400}
          height={100}
        />
      </div>
      {/* This image is being served from an
      external URL. To use external images,
      add the hostname 'media.geeksforgeeks.org'
      to the next.config.mjs file. */}
      <div>
        <Image
          src="https://media.geeksforgeeks.org/wp-content/cdn-uploads/20210420155809/gfg-new-logo.png"
          width={400}
          height={100}
          alt="GFG logo served from an external URL"
        />
      </div>
    </>
  );
}
/** @type {import('next').NextConfig} */
const nextConfig = {
  images: {
    remotePatterns: [
      {
        protocol: "https",
        hostname: "media.geeksforgeeks.org",
      },
    ],
  },
};
export default nextConfig;
Step to run the Application
Run your Next app using the following command:
npm run devOutput