

Need a reliable email account for work, school, or personal use? Gmail is the preferred choice for over 1.8 billion users worldwide, making it one of the most widely used email services. Backed by Google’s strong security features and integration with Google Drive, Calendar, and Meet, Gmail simplifies communication and productivity.
Setting up a Gmail account is quick and straightforward, whether you're using a desktop, Android, or iPhone. This guide will take you through the step-by-step process of creating a Gmail account, managing settings, and even signing up without a phone number for those who prefer more privacy. If you're looking for a free, secure, and feature-rich email platform, follow along to get started.
How to Create a Gmail Account on Desktop
Opening a Gmail account on your desktop is a very easy process. Follow these easy steps to set up a new Gmail account and start using Google's email service.
Step 1: Go to the Gmail Signup Page
- Open your web browser (e.g., Google Chrome, Mozilla Firefox, Safari, or Microsoft Edge).
- In the address bar, type www.gmail.com and press Enter.
- On the Gmail homepage, click Create account

Step 2: Select Account type and Enter Your Personal Information
On the signup page, select the type of account you want to create:
- For myself: Personal use.
- To manage my business: For business purposes.
Fill in the required details:
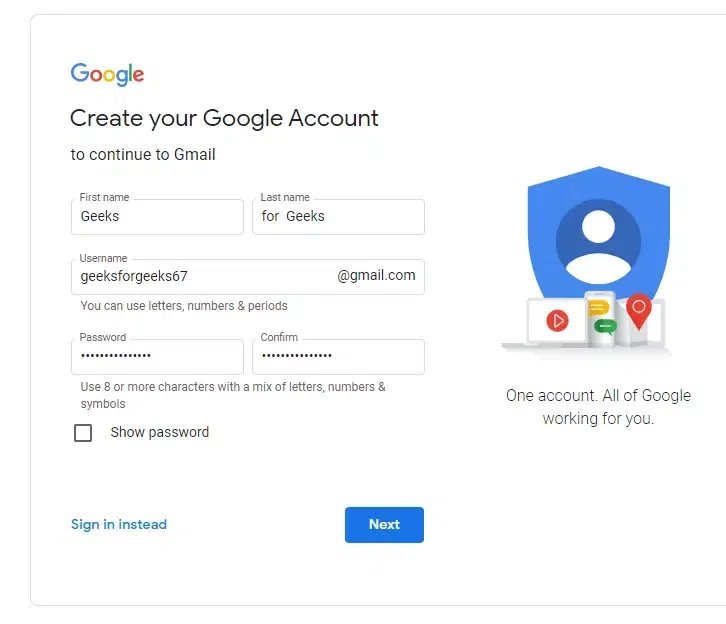
- First name and last name: Enter your name as you'd like it to appear in your Gmail address.
- Username: Choose a unique username for your Gmail address (e.g., example1234@gmail.com). If the username is unavailable, Gmail will suggest alternatives.
- Password: Create a strong password using a combination of letters, numbers, and special characters. Re-enter the password to confirm it.
Click Next to proceed.

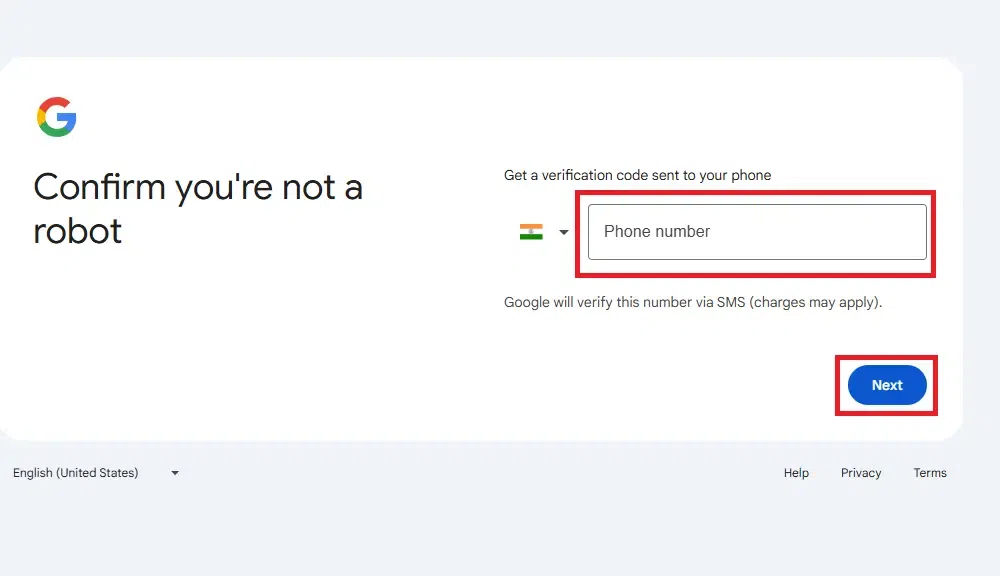
Step 3: Verify Your Phone Number
Google will ask for your phone number to improve account security and enable features like two-step verification.
This step is optional but highly recommended.
- Enter your phone number and click Next.
- You will receive a text message with a verification code on your phone.
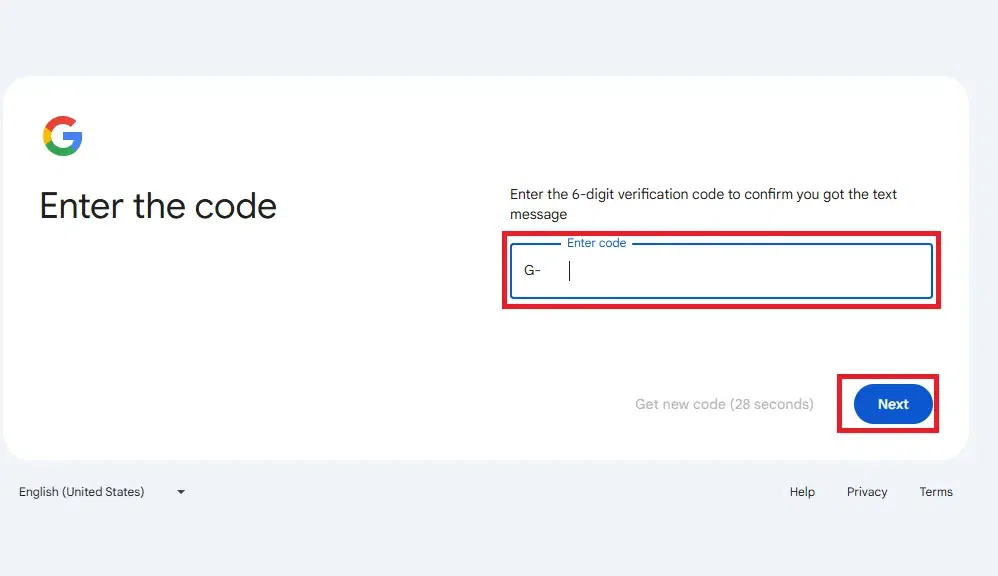
Step 4: Enter OTP
- Enter the verification code (OTP) you received via text message in the provided box.
- Click Verify to confirm your phone number.
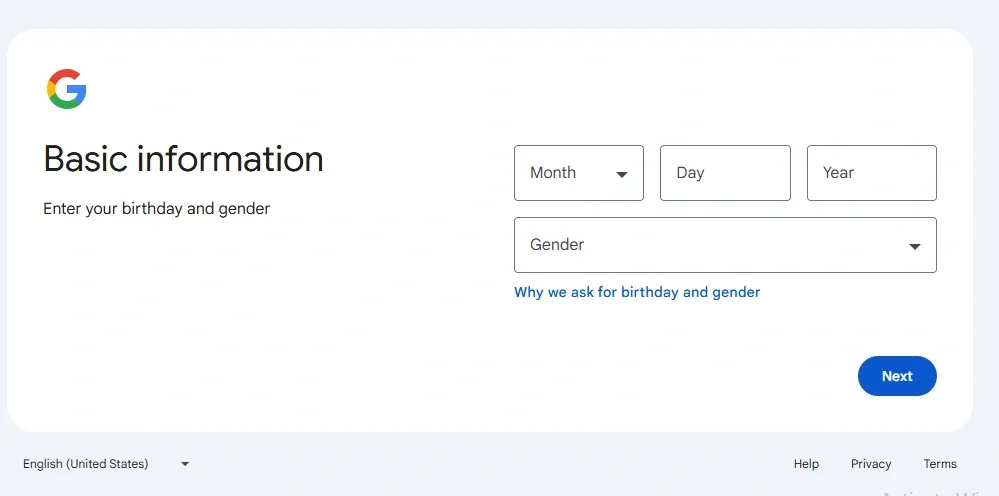
Step 5: Enter Your Date of Birth and Gender
Google requires your birthdate to ensure you’re old enough to use the service (you must be at least 13 years old).
- Select your birth month, day, and year from the dropdowns.
- Select your gender or choose "Rather not say" if you prefer not to disclose it.
Click Next to proceed.
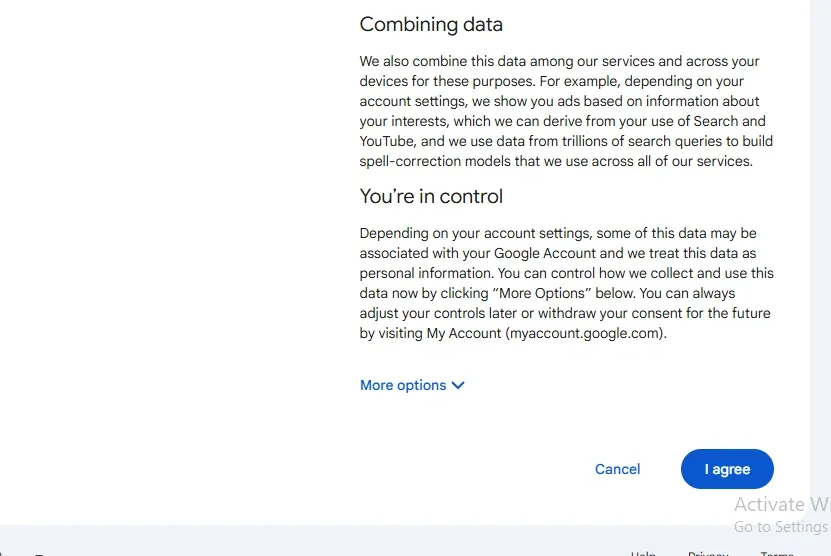
Step 6: Agree to Google’s Terms and Privacy Policy
Google will show you their Privacy and Terms document. This is where you’ll find information about how Google handles your data. It’s important to review this before proceeding. Scroll down to the bottom of the page and click I agree to accept Google's terms and privacy policy.
Step 7: Complete Your Account Setup
- Once you’ve agreed to the terms, your Gmail account will be created.
- You’ll be redirected to your new Gmail inbox, where you can start sending and receiving emails.
Additional Notes for Windows and Mac OS Users
- Windows: Ensure your browser is up to date for the best experience. You can use any browser, but Google Chrome is recommended for smooth integration with Gmail.
- Mac OS: Safari is the default browser on Mac, but you can also use Chrome or Firefox. Make sure your browser is updated to the latest version.
How to Create a Gmail Account on Mobile (Android & iPhone/iPad)
You can easily create Gmail Account with your smartphone. Follow these steps to sign up for Gmail on your mobile device. The steps are pretty much the same whether you use an Android or iPhone.
Step 1: Open the Gmail App or Google Account Page
Android:
- Open the Gmail app (pre-installed on most devices).
- Tap Add an email address << Google << Create an account.
iOS:
- Option 1: Open the Gmail app (download it from the App Store if needed). Tap Sign in << Create account.
- Option 2: Open Safari or another browser, go to Google Account Creation, and proceed.

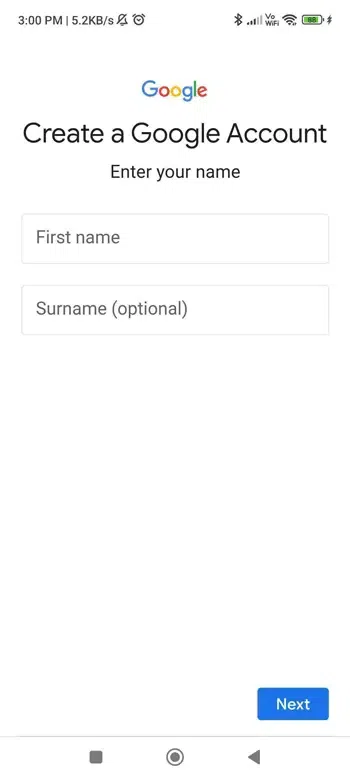
Step 2: Enter Full Name
- Fill in your First name and Last name as you want them to appear in your email account.
- Tap Next.
Step 3: Choose or Create a Gmail Address
Create a username (e.g., yourname@gmail.com).
- Google will check availability. If your username is taken, try alternatives or use Google’s suggestions.
Tap Next.

Step 3: Set a Secure Password
- Enter a strong password (at least 8 characters, including letters, numbers, and symbols).
- Re-enter the password to confirm.
- Tap Next.

Step 4: Provide Recovery Details (Optional)
- Optional but recommended: Add a recovery phone number or email address to help recover your account if needed.
- If adding a phone number: Enter it, tap Next, then enter the verification code sent via SMS.
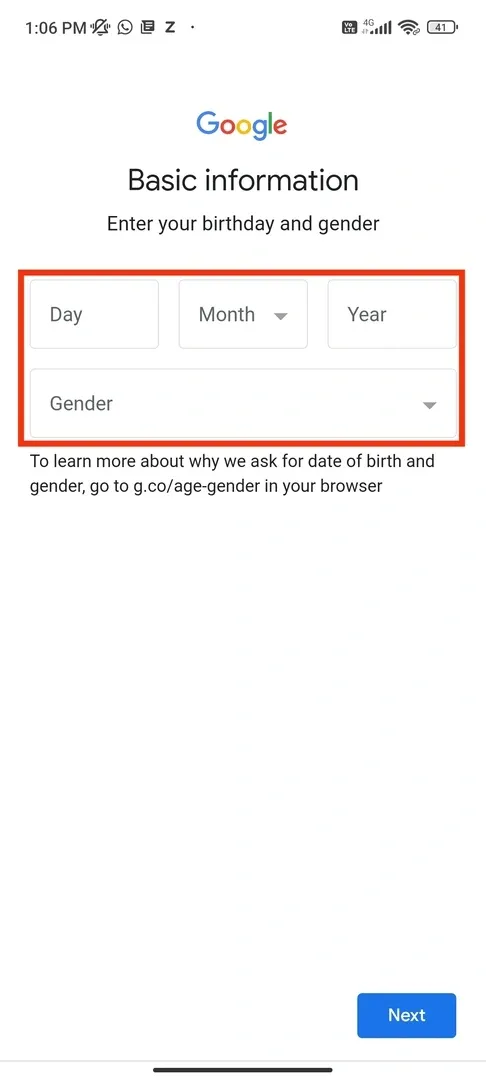
Step 6: Enter Date of Birth and Gender
- Select your birthdate (month, day, year).
- You must be at least 13 years old to create an account.
- Choose your gender or select “Rather not say”.
- Tap Next.
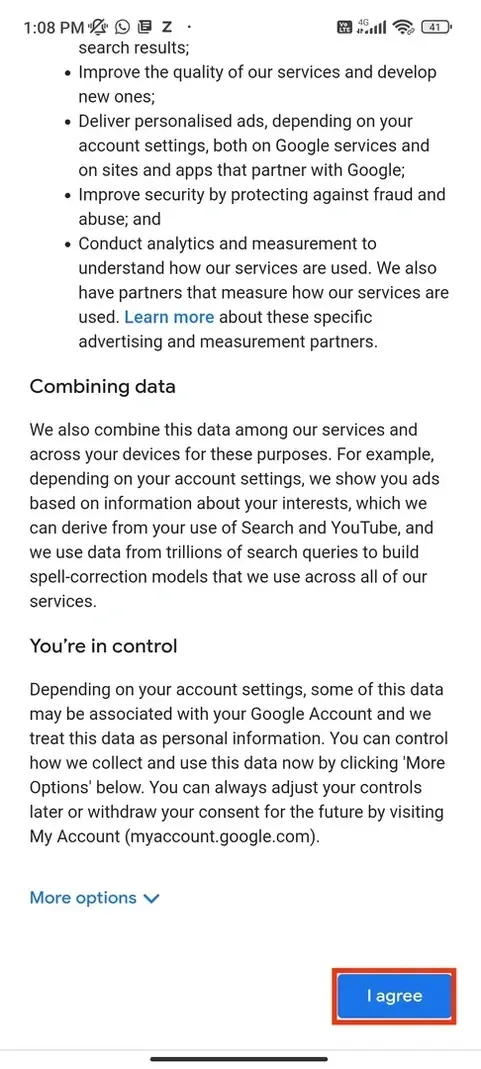
Step 7: Review Google’s Terms and Privacy Policy
- Scroll through Google’s Terms of Service and Privacy Policy.
- Tap I Agree to complete the setup.
Step 8: Finish Setup
- Your Gmail account is now ready!
- Android: You’ll be redirected to the Gmail app inbox.
- iOS: If using a browser, you’ll be prompted to sign in via the Gmail app.
Additional Tips for Android and iOS
Android:
- Your account will automatically sync with other Google services (Drive, Photos, etc.).
- Enable 2-Step Verification in Google Account Settings for extra security.
iOS:
- To add Gmail to Apple Mail: Go to Settings → Mail → Add Account → Google.
- Keep the Gmail app updated via the App Store for the latest features.
How to Create a Gmail Account Without Phone Number (Alternative Method)
Creating a Gmail account without a phone number can be a bit tricky since Google often requests a phone number for account recovery, security verification, or two-factor authentication. However, it is possible to create an account without providing a phone number, though it may require you to bypass certain verification steps.
Step 1: Go to Gmail's Sign Up Page
Open your browser and navigate to the Gmail sign-up page.
Step 2: Fill in Your Details
Enter your first and last name, select a unique username for your email address (e.g., username@gmail.com), and create a secure password before confirming it to complete the setup.
Step 3: Skip the Phone Number Field
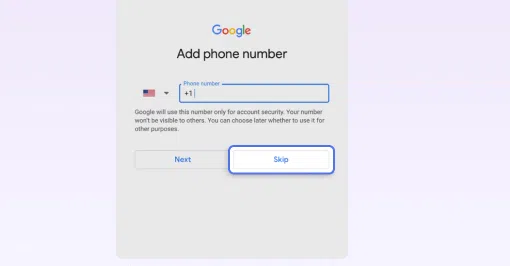
- When asked for your phone number, leave the field blank. This will allow you to proceed without entering a phone number. If the field is marked as required, you may need to use a workaround.
- Google may prompt you for a phone number, but you can usually bypass it by clicking the "Skip" or "Next" option.
Enter Recovery Email (Optional)
- While the phone number is optional, you will be asked to provide a recovery email address. This is recommended for account recovery in case you forget your password or lose access to your account.
- If you don’t want to provide a recovery email, you can leave this field blank and proceed.
Step 4: Select Your Birthdate and Gender
- Google requires you to provide your birthdate and gender to ensure that you are old enough to use the account and to personalize your experience.
Step 5: Agree to Google’s Terms and Conditions
Review Google’s Terms of Service and Privacy Policy carefully, then click “I Agree” to accept the terms and proceed with your account setup.
Also Read:
Conclusion
Creating a Gmail account is your gateway to a world of productivity and connectivity. With this Gmail setup guide, you’ve learned how to sign up for Gmail on desktop and mobile, as well as how to create Gmail without a phone number. Whether you’re using it for work, school, or personal communication, Gmail’s features and smooth connections with other tools make it a top choice for email users.
Ready to get started? Follow the steps outlined here to set up Gmail on Android/iPhone or desktop, and enjoy the convenience of Google’s email service. Your new Gmail account is just a few clicks away—sign up today!
