

Need to capture a webpage, save important information, or share content from Safari? Taking a screenshot is quick and easy, whether you're using a Mac, iPhone, or iPad. This guide covers the simple steps to snap full-page screenshots, grab visible portions, or record scrolling content—perfect for work, research, or personal use. Plus, learn handy tricks to edit and organize your screenshots efficiently.
How to Take Full Page Screenshots in Safari
Learn how to easily capture full-page screenshots in Safari using these simple steps for webpage screenshots and screen capture.
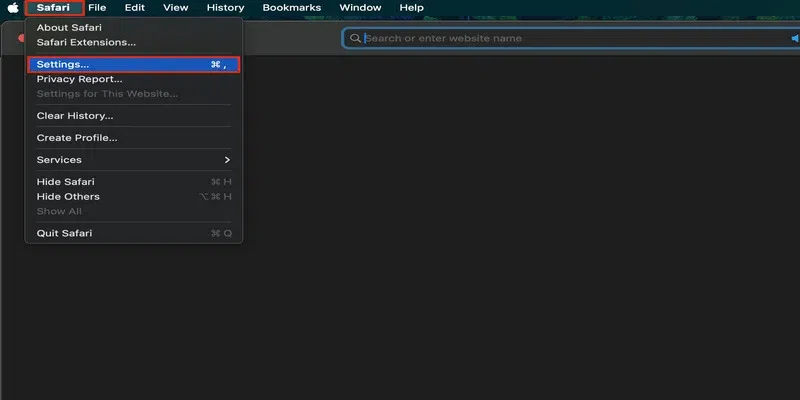
Step 1: Open Safari Settings
Launch Safari and navigate to Safari -> Settings to access the browser's settings and preferences.
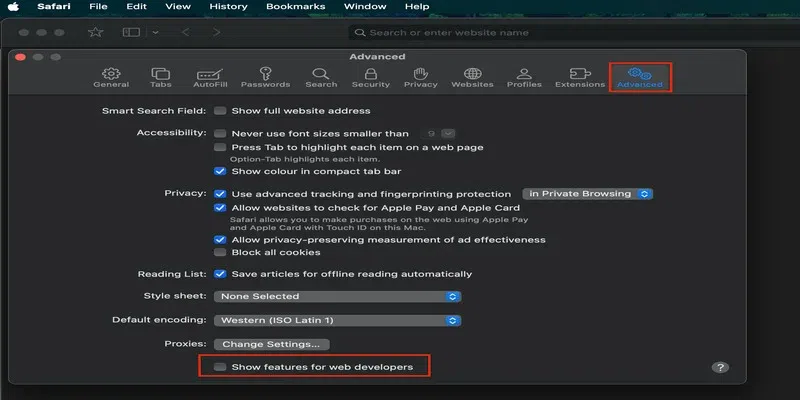
Step 2: Enable Web Developer Features
In the Advanced tab, check the box labeled Show Develop menu in menu bar to enable web development tools and features.
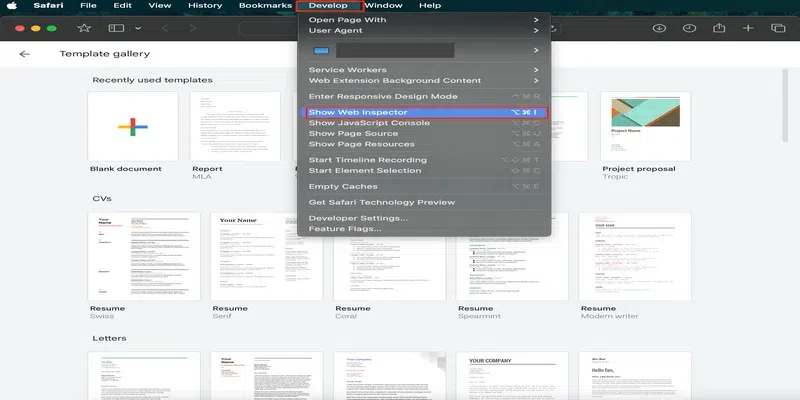
Step 3: Open Web Inspector in Safari
Visit the webpage you want to capture, click on the Develop menu at the top, and select Show Web Inspector. Alternatively, press Option + Cmd + I as a shortcut to open the Web Inspector.
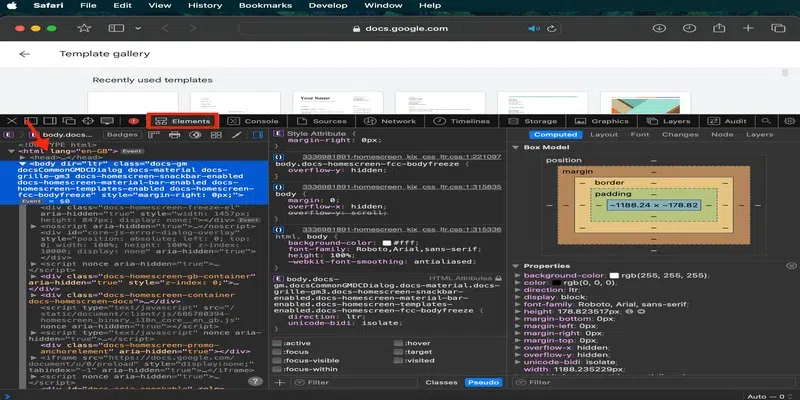
Step 4: Select the Elements Tab and Right-Click
Ensure the Elements tab is selected in the Web Inspector. Right-click on the HTML line starting with <html... to access more options.
Step 5: Capture a Screenshot of the Webpage
From the context menu, select the Capture Screenshot option to take a screenshot of the entire webpage.
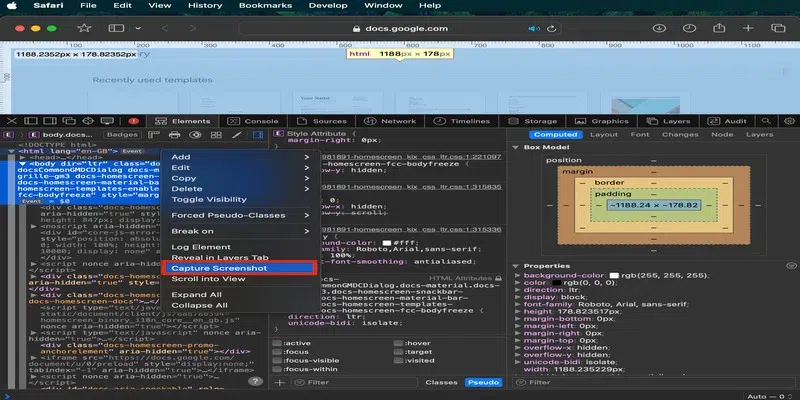
Step 6: Save the Screenshot
Choose a filename and save location, then click Save to store the screenshot of the full webpage for later use.
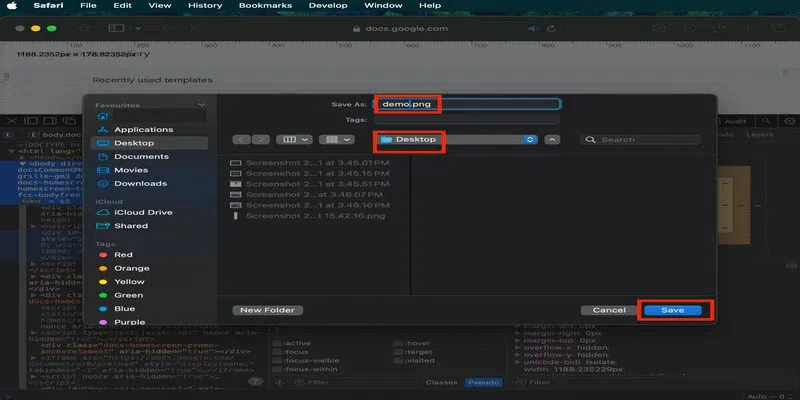
And here you have the screenshot of an entire webpage:
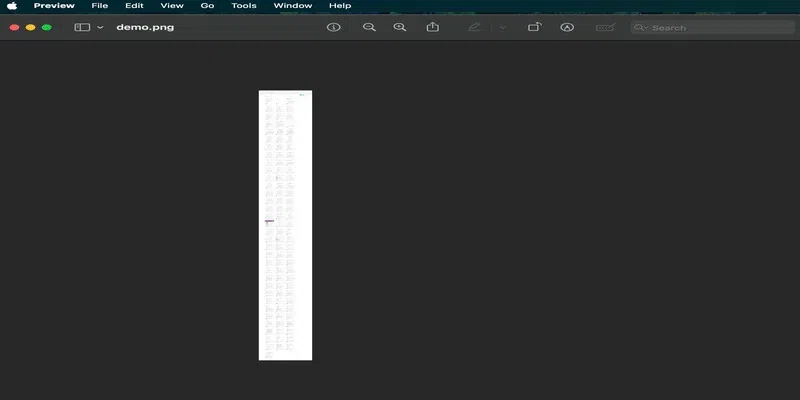
How to Fix Empty Spaces Around the Screenshot
Here are the steps to know how to fix empty spaces around your screenshot in Preview on Mac with these easy steps for cropping and editing images.
Step 1: Open the File in Preview
If Preview is your default application for PNG image files, simply click on the screenshot to open it. If not, right-click the screenshot and choose Open with -> Preview.
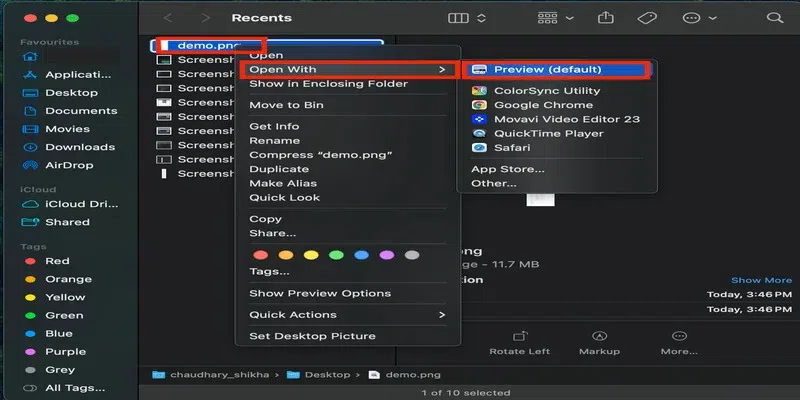
Step 2: Select the Instant Alpha Tool
Click on the Markup Toolbar icon and select the Instant Alpha tool from the available options.
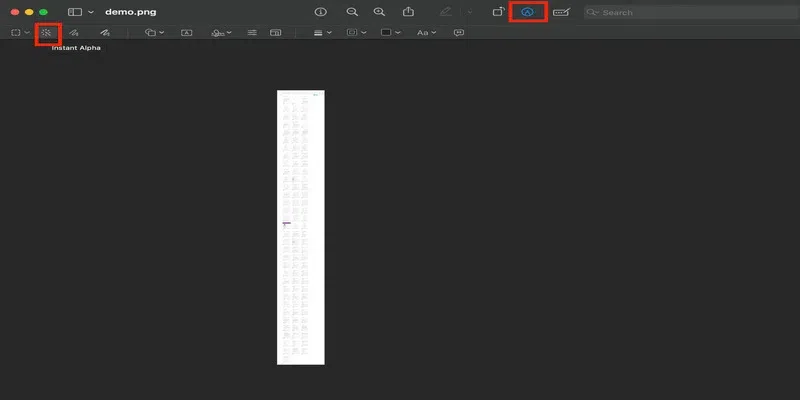
Step 3: Select the Empty Area
Drag the plus cursor over the empty area of the image until it turns red. Be careful not to select the image itself. Once you release the mouse, the empty area will be selected with a dotted line.
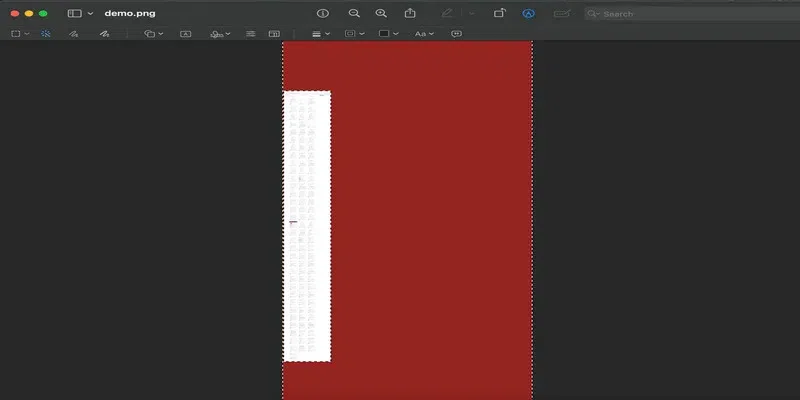
Once you let go of the mouse, the coloured section will be selected with a dotted line.
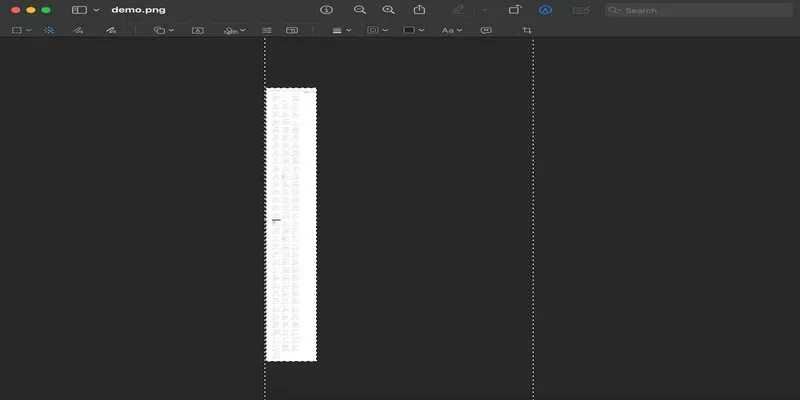
Step 4: Invert the Selection
Press Shift + Command + I to invert the selection. This changes the selection to the image area instead of the empty space. This method ensures that small details of the image are properly included.
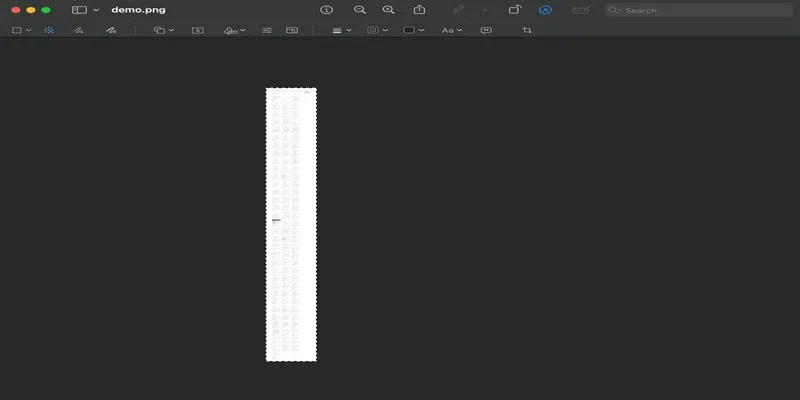
If you are wondering why didn't we use the Alpha tool to select the image in the first place, then that is because the alpha tool will not select the small details of the screenshot properly. However, using the invert selection method, we can make sure that none of the elements of the screenshot are blurred or cropped out.
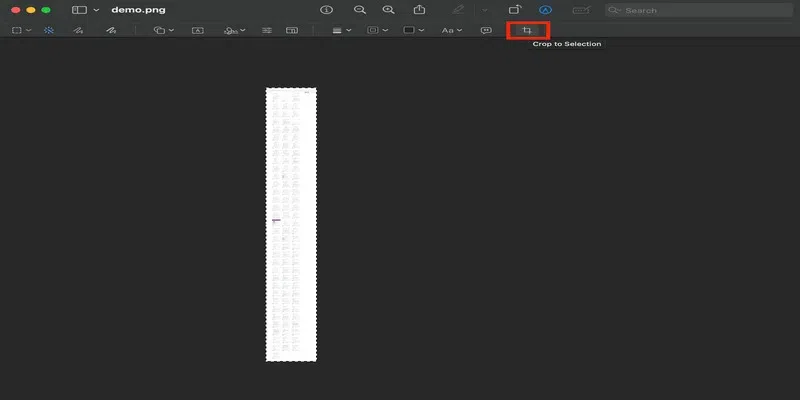
Step 5: Crop the Selection
Click the Crop button at the top or press Cmd + K to crop the image and remove the selected empty area.
Step 6: Save the Screenshot
Finally, press Ctrl + S to save your cropped screenshot. The image is now cleaned and ready to use.
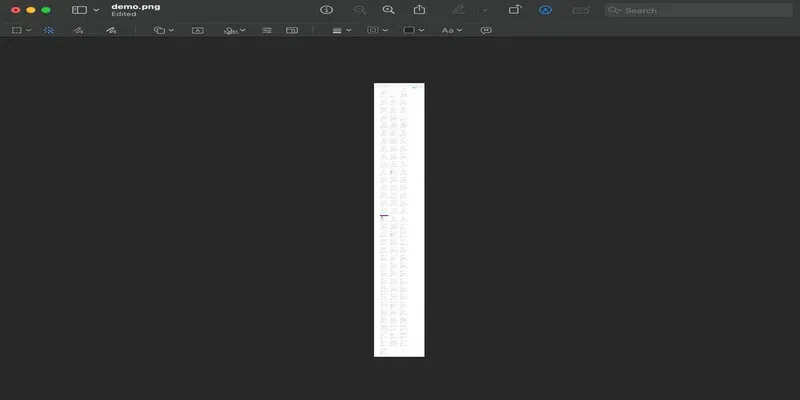
This is essentially how you can take the scrolling screenshot of a webpage in Safari using the web capture tools.
Conclusion
Now you know how to take screenshots in Safari like a pro! From basic captures to full-page snapshots, these methods help you save, annotate, and share web content effortlessly. Whether for documentation or troubleshooting, mastering Safari screenshots boosts your productivity on Apple devices. Start capturing and organizing your web content smarter today!
