Pages

Showing posts with label Christmas. Show all posts

Monday, January 06, 2014

Christmas Catch-Up: Simple Needle Book tutorial

Simple Needle Books
Shhh, don’t tell the Mother! I made a version of this for her for Christmas, but shipping and travel plans got miscoordinated and she hasn’t got it yet. It’s just a quicky project I threw in with some other stuff for her, so the surprise shouldn’t be totally ruined.

Simple Needle Books
It’s not a fussy project—just a little something functional that can be prettied up as much as you like by choosing fun fabrics or embellishments. A sewist can never have enough pincushions, and spare needle cases don’t seem amiss to me either—inevitably I end up sticking needles in one of said pincushions and then losing them inside, so the more proper places for needles the better! (There’s a pocket for needle packets inside, so you can also keep fresh needles separate from their gently used brethren.)

Simple Needle Book

Finished Size

2½" × 4" (folded closed)

Materials

This project is great for scraps of fabrics and interfacing—I don’t know exactly what interfacings I used, ’cause I pulled bits from the scrap bin. You just want a combo of fabric and interfacing that’s slightly stiffer than floppy quilting cotton alone.


Instructions

  1. Fuse the medium-weight interfacing centered on the wrong side of the exterior fabric, following manufacturer’s instructions. Fuse the lightweight interfacing centered on the wrong side of the interior fabric.

    interfaced fabrics

  2. Fold the interior piece right sides together 5¼" from the right-hand short end.

    first fold to 5¼" wide
    Then fold the upper section back to form the pocket so the folded piece measures 4½" × 5½". Press to hold the folds.

    fold pocket back on itself

  3. With right sides up, place the felt on the unfolded section of the interior piece about ½" from the raw edges. Stitch the felt to the interior along the felt’s top edge; you can use a decorative stitch like I did here, but a straight stitch will work too—just be sure to secure the ends. I also trimmed the bottom edge of the felt with a scalloped rotary blade.

    felt needle pad attached with decorative stitch

  4. If desired, embellish the exterior. The interfacing is a handy stabilizer for decorative stitching—see my stitch guide for the combination of built-in stitches I used on the linen needle book shown at the top of the post.

  5. Put the interior and exterior pieces right sides together, making sure the pocket is still folded so all raw edges match. Sew around the perimeter with a ¼" seam allowance, leaving a gap for turning on the bottom edge, avoiding the pocket section.

    opening left in bottom edge to side of pocket

  6. Clip the corners and turn the needle case right side out through the opening. (If you’re paying attention, you’ll see that I wasn’t…)

    oops, I left my opening at the top rather than the bottom...no big deal
    Push out the corners gently and press flat, folding in the seam allowances at the opening.

    edges pressed

  7. With the needle case open (i.e., unfolded), topstitch along all outer edges, closing the gap in the bottom.

    topstitching keeps edges nice and flat

  8. Fold the needle case in half and press to set the crease in the center.

    finished needle book, closed

    finished needle book, open
That’s it! Stay tuned for a tute on ribbon appliqué, which I used on another of these needle books as well as kitchen towels.

Thursday, January 02, 2014

Christmas Catch-Up: Pork Cuts free applique pattern

I don’t generally consider the slaughter of a pig cause for celebration, but apparently parts of Germany do. The Other and I were introduced to the idea of Schlachtfest several years ago through an East German children’s game of the same name (or rather, the similar “Schlacterfest”), in which players compete to assemble various cuts of pig into a full swine. (Though in true communist fashion, players eventually learn that to win the game, they have to cooperate rather than competing like capitalists.)

Schlachtfest apron
The Other is also the main cook in our household, and frequently comments that he’s never sure what defines particular cuts of meat. So what better Christmas gift than an apron with a pig appliqué handily labeled with pork cuts? OK, maybe it’s not so handy, but it’s gruesomely amusing. To our twisted senses of humor, at least.

pork cuts appliqué
I used a store-bought apron as the base to save sewing time. The pig and Schlachtfest label were stuck on with fusible web (my favorite is HeatnBond Lite). To avoid having to use a separate stabilizer, I sewed the detail lines on the pig and the letters and numbers before peeling off the backing paper of the fusible, gently tearing it away from the stitches. A zigzag round the outer edge, and the sow’s ready for the kitchen.

Download my free Pork Cuts appliqué pattern (in PDF or as an EQ7 project file) if you want to embellish your own apron—or whatever else! Of course, you could just use the pig shape without the cut lines if you’re not feeling so morbid.

Wednesday, January 01, 2014

Christmas Catch-Up: Giveaway!

The problem with craft blogging during the holidays is that if we want to show our handmade presents, we run the risk of giving away the surprise—at least, that’s what I tell myself when I’m sewing up to the Christmas deadline and don’t have a chance to post.
So this year, I thought I’d turn the first week of the New Year into belated gift-giving for you, my dear readers, based on what I made for my family. Later in the week I’ll post some tutorials and patterns, but I thought I’d kick things off with a giveaway!
an alligator plush for my nephew
Middle Brother has a peculiar terror of alligators, so naturally an alligator stuffed toy was in order for his son. Alligators somehow came up at Spring Quilt Market when I was talking with a rep from Clothworks, who was kind enough to send me this pattern by Penguin & Fish as well as fabric from the A Closer Look line—perfect for scaly gator flesh. The pattern was put together very well, which I always admire as both a pattern designer and technical editor.
beware alligators on mantles
No, I’m not giving away the plush I just made for my nephew—that’d just be cruel. Susie from Clothworks actually sent me three copies of the pattern, so I’m giving one away here and one on my Facebook page, each along with fabric for the main pieces.
alligator pattern and fabric for blog giveaway
Just leave a comment here between now and the end of Saturday (1/4/2014, 11:59 pm Pacific time) to enter. A winner will be randomly chosen and announced on Sunday. You can also enter the giveaway (with a slightly different set of fabrics) on Facebook by commenting or liking the post there; the winner there will also be random, but I’ll make sure the same person doesn’t win both. Good luck! The giveaway has ended and winners have been posted. Thanks for entering!
Friday, December 21, 2012

Charley Harper quilts—and Christmas stockings!

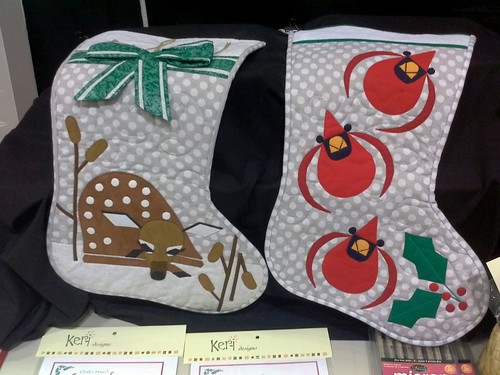
Snow Fawn and Christmas Cards stockings

It might be a little late to stitch up one of these Charley Harper stockings in time for Christmas, but there’s always next year! The patterns are available from Keri Designs, who, as I was delighted to discover at the Pacific International Quilt Festival, is the official licensed designer for quilt patterns based on the ever-delightful work of Charley Harper.
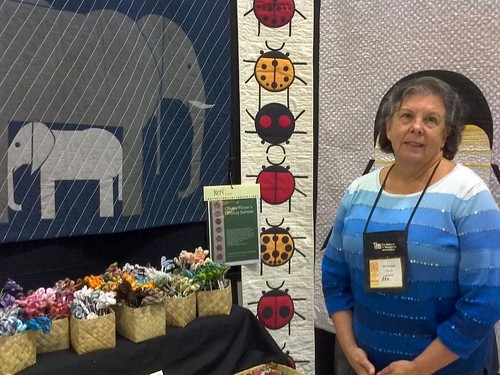
Keri with Jumbrella and Ladybug Sampler quilts

Keri’s booth was my first stop at the show in October, after spying her quilted version of Harper’s Jumbrella in the show program. Since it was early, I got the chance to chat with the very friendly Keri herself and see the quilts up close.

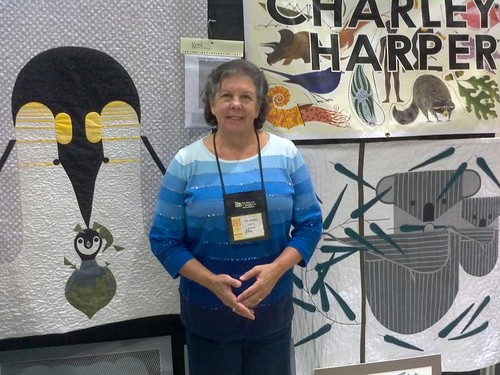
Keri with Br-r-r-r-rthday and KOALAkoala quilts

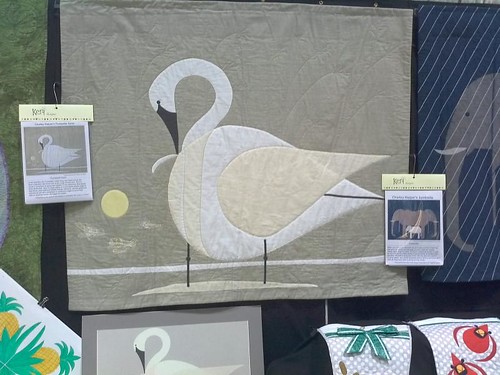
Harper’s designs are such naturals for adaptation into applique—just look at the way Keri’s used polka dot fabric as the snowy background in Br-r-r-r-rthday, and quilting lines as the rain in Jumbrella. She even cleverly used fabric show-through to create a semi-transparent effect for the wing in Trumpeter Swan.

Trumpeter Swan quilt

I’m thrilled that these patterns are available so all of us quilters can make our own little piece of Charley Harper. As for me, I picked up the Ladybug Sampler pattern, which I’m saving for some just-for-fun stitching after I get my book done.
By the way, this is a completely unsponsored plug—I was just so excited to find Charley Harper quilt patterns that I had to share my delight with you too (especially since I once thought the licensing possibility seemed remote). And Keri says there’re more Harper quilt patterns on the way!

Saturday, December 31, 2011

Last Stitch projects of 2011

6610095525

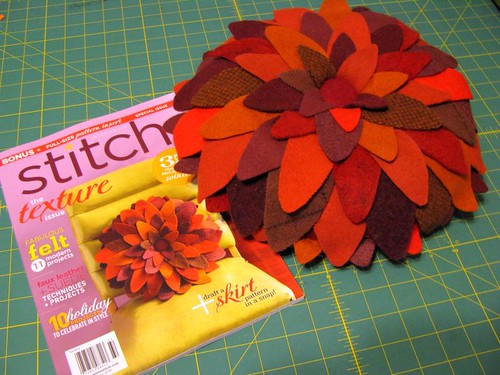
I’ve been on a bit of a blogging hiatus between the inevitable Christmas crush and some exciting work stuff that must remain under wraps for now, but since we’re ticking the final hours of 2011 away, I thought I’d best get around to posting my projects from the Winter and Gifts issues of Stitch—I think they’re still on newsstands, so I’m not totally out of date!

I was thrilled to see my Wool Petals Pillow on the cover. If you’ve got a stash of wool, it’s one of those deceptively simple projects that looks more luxe than it really deserves to. Unfortunately the pillow is now stashed in the closet to keep little claws from “inspecting” it…

6610095657

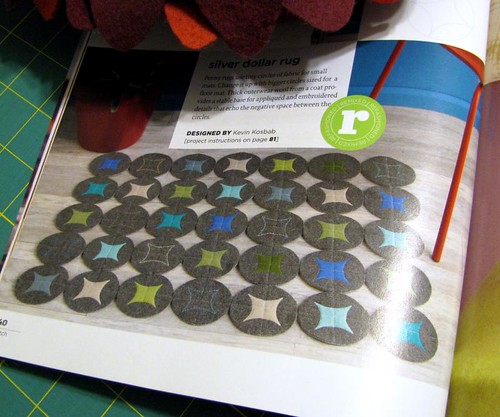
Said claws thankfully don’t seem to be as interested in my other wool project for the Winter issue, the Silver Dollar Rug. The Other had a grey wool coat that was getting no use here in California, so I felted it and cut it into big circles as a larger-scale riff on penny rugs. We moved this summer into a house with wood floors, so we’re finally able to enjoy fun throw rugs.

6610095867

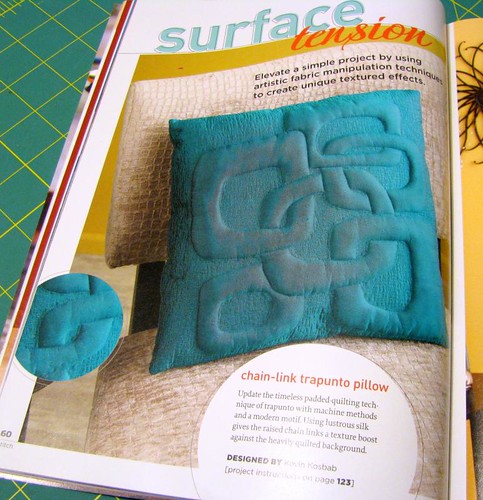
I’ve long thought trapunto was ripe for a modern interpretation, and this Chain-Link Trapunto Pillow was the eventual result. The slight brown tinge in the image isn’t a misprint: the silk I used was cross-woven with teal in one direction and brown in the other, which is especially striking for dimensional techniques like this. I love how the pillow turned out and I’m itching to make some similar pillows with other designs.

6610095763

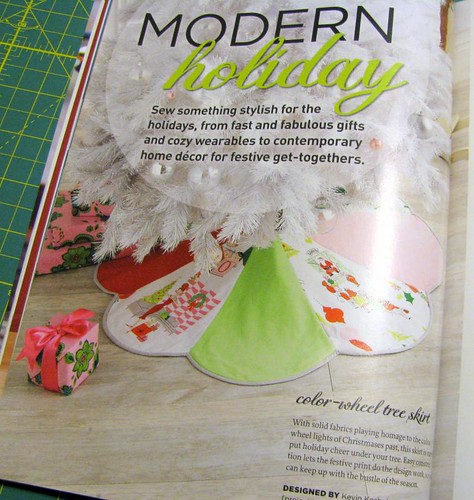
It’s a little late to be showing a tree skirt—though I could certainly use with a head start for next Christmas! This Color-Wheel Tree Skirt is a fun way to use a large-scale holiday print.

6610096081

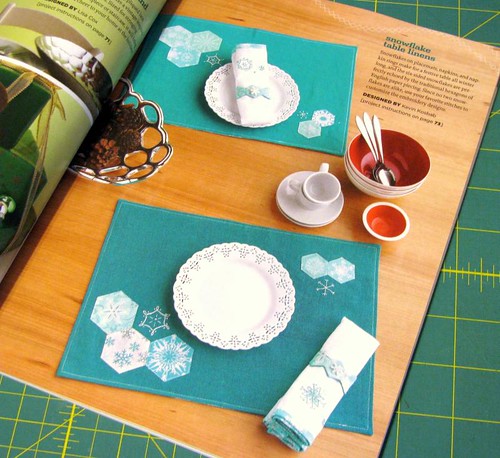
WI11_C1_bag_r5.pdfPatterns for the previous projects are all in the Winter 2011 issue of Stitch; these Snowflake Table Linens are in the Gifts 2011 issue. There’re placemats, napkins, and napkin rings included, all made with English paper piecing using snowflake prints and some snowflake embroidery. I always say the best thing about snowflakes is that they’re festive for the holidays but still seasonal if the decorations don’t get put away on Boxing Day. (Which, needless to say, never happens around here.)

I hope you all had a lovely holiday and wish you happy sewing in the new year!

Friday, December 24, 2010

A Christmas Eve flurry

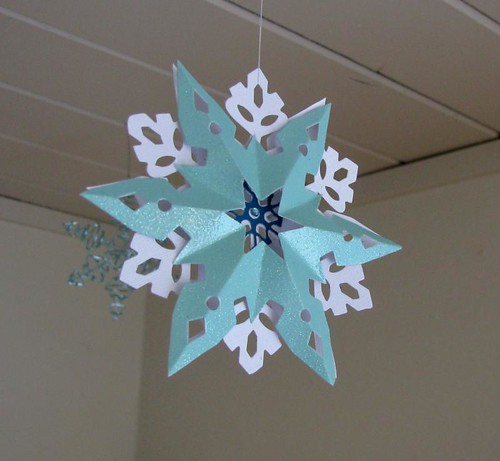
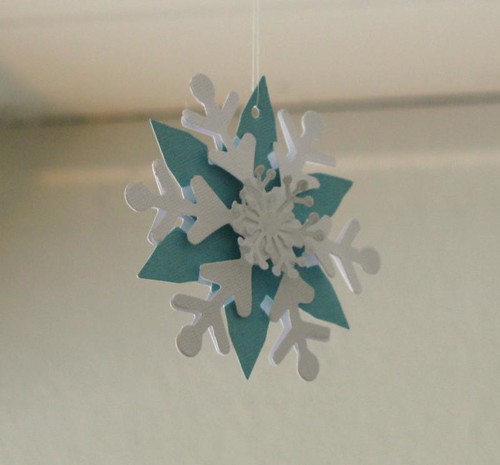
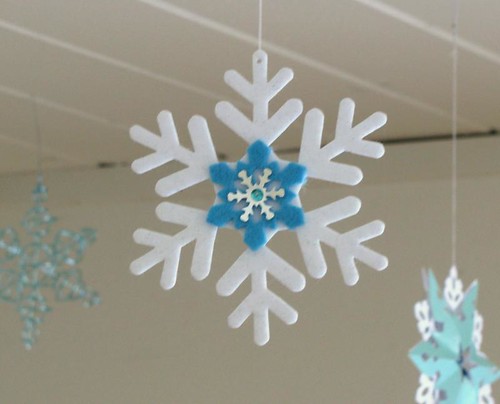
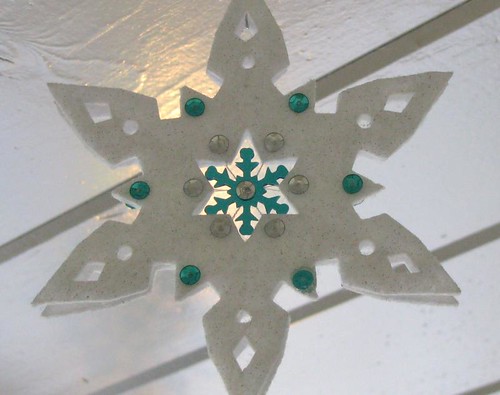
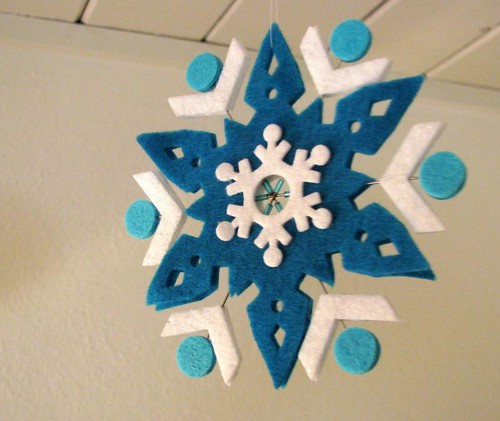
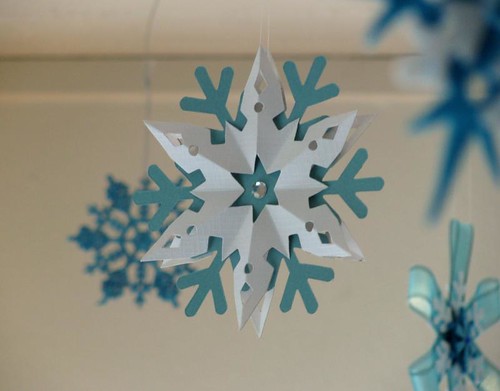
cardstock snowflake ornament

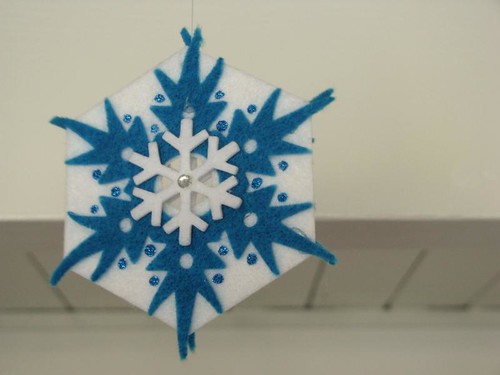
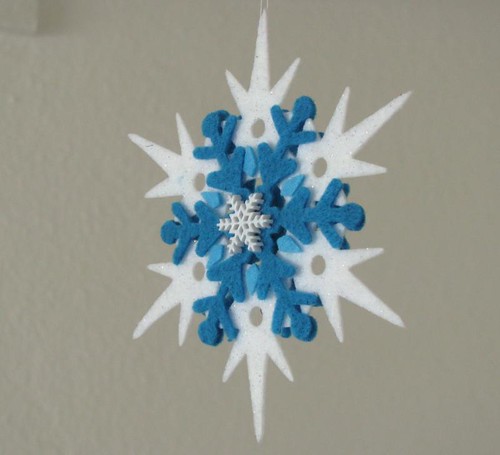
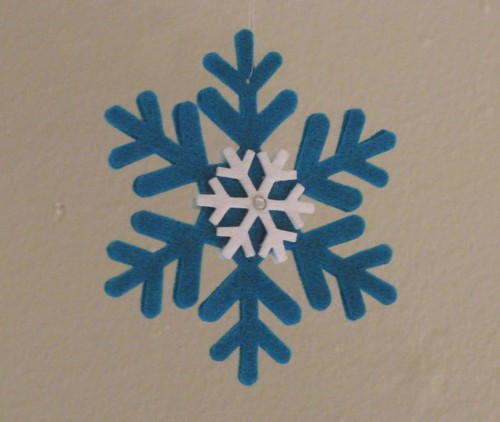
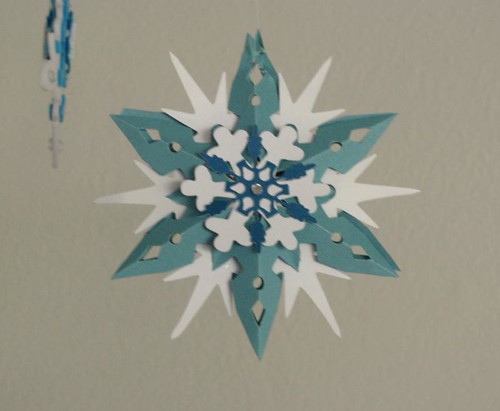
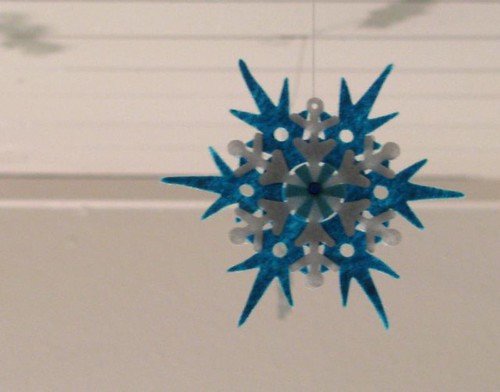
Feed Dog Flurry The big day is almost here, and there’s so much more I wanted to share with you! And more things I wanted to make for gifts, and gifts that haven’t even been shipped yet…but instead of lamenting what didn’t get done, I thought I’d celebrate something I did do with one last burst of snowflake ornament photos. Mostly felt with some cardstock ones mixed in this time, cut with a ballooning collection of Sizzix snowflake dies and glued together in the spare moments amid Christmas crisis control.

Hope you all have a lovely Christmas!

5289089719

5289692742

5289692714

5289089607

5289692650

5289089499

5289089435

5289692406

5289089531

5289089323

Thursday, December 23, 2010

Free printable snowflake fabric

printable snowflake fabric

Feed Dog Flurry Print your own version of the snowflake fabric I drew for my Christmas cards! Just download the PDF file, print on an 8½×11" sheet of printable fabric, and cut the swatches out for use in your own projects. Then drop me a line—I’d love to see how you use them!

Wednesday, December 22, 2010

Holiday cards, part II: removable fabric charm squares

piles o' Christmas cards

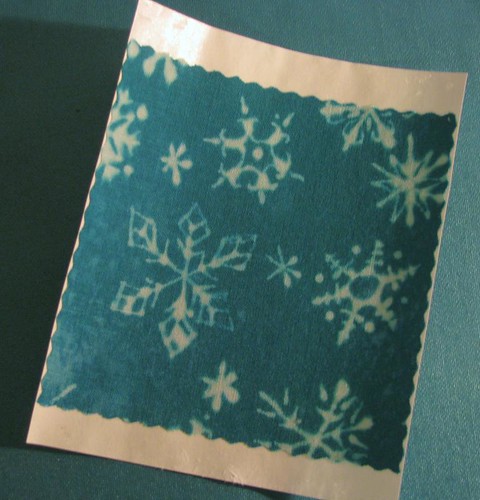
Feed Dog Flurry Christmas cards are out—hurrah! I’ve already shown you the fabric I drew in part I, so today I’ll show you just how I incorporated the fabric into the cards.

After much deliberating and prototyping, I decided everything would be much easier if I cut my fabric into mini charm squares—that is, 4" squares rather than the “official” charm square dimensions of 5". Shrinking to that size meant I could still feed the cards through my Sizzix BigKick machine for cutting and embossing without resorting to a nonstandard envelope size. So I made my cards A2 size, or a 5½×8½" sheet (half a letter-size page) folded in half, and may I just say that this designation is tremendously confusing as it has nothing whatsoever to do with international standard “A” paper sizes, by which “A2” would be about 4 times the size of letter paper. Anyway, now I know. And so do you, in case it ever comes up on Jeopardy.

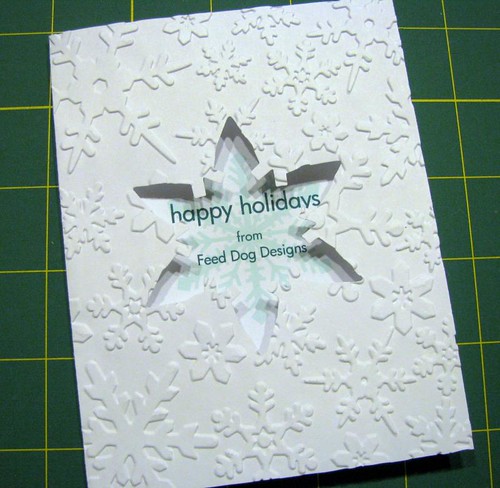
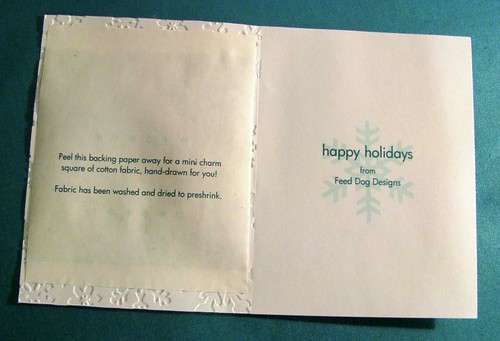
card without fabric

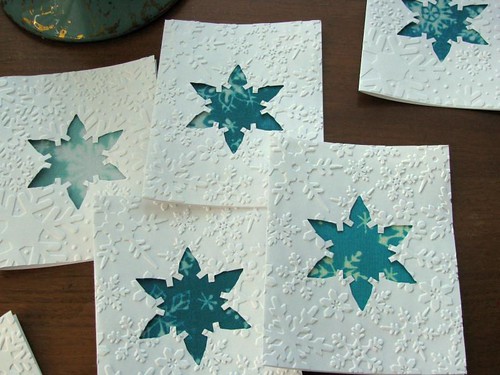
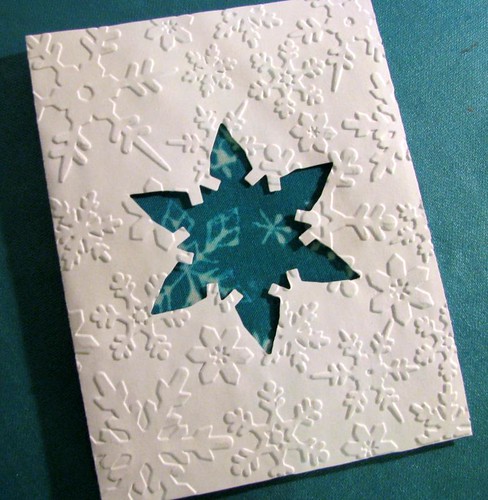
I printed my text and a snowflake on the inside of the card so it would be visible when I cut a window out of the front using a Sizzix Movers & Shapers snowflake magnetic die (you could cut a window whatever shape you want with a craft knife, of course). I embossed the card fronts with their Snowflakes #6 and Snowflakes #2 Textured Impressions folders after cutting the windows.

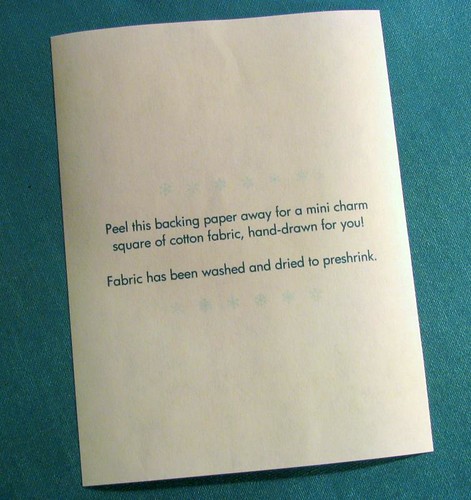
freezer paper card innards

So here’s the trick: inside the card is a sheet of freezer paper that simultaneously explains to the recipient that yes, you should pull the card apart, and holds the charm square in place until the peeling commences. To hold the 4" square of fabric on the 4¼×5½" panel of the card, I set up 4⅛×5" freezer-paper labels, printed four on a page with an inkjet printer, and cut them to size. Precut letter-size freezer paper makes this a snap (and is a little meatier than the supermarket stuff), but you can cut regular freezer paper to page size for printing too.

charm square with freezer paper backing

Then place a charm square facedown on your ironing board, center a freezer-paper backing over it (shiny side to the fabric), and press the paper in place. When it’s cooled, peel the paper off your ironing board. There should be about ½" of freezer paper extending past the fabric on the top and bottom.

charm square adhered to card

Those ½" margins will adhere the freezer paper to the inside of the card front: iron them to the cardstock gently and they should stick well enough to hold the fabric in place without squashing the embossing. It doesn’t have to hold with the strength of a thousand men/women/beasts, since you’re telling people to tear it off when they get it.

front of finished card

Close the card up, and there’s the fabric! I could have drawn my snowflakes so they’d be centered in the window, but just cutting the fabric as it was leaves the snowflakes peering enticingly through the window.

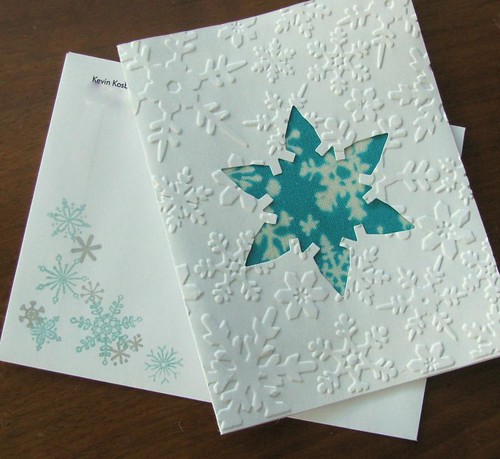
card with stamped envelope

Since I was on a papercrafting kick, I stamped the envelopes to match. But hopefully the cards use papercraft to show that I’m a fabric guy while giving my contacts a little tidbit of handmade fabric for their stashes.

I’ve got a little something for my blog readers’ stashes, too, so stay tuned!