Showing posts with label tutorials. Show all posts

Thursday, August 22, 2013

Making Flairs at Some Odd Girl.

Hey, how's it going?

Today, I am featured at the Some Odd Girl blog, and I wrote up the Tutorial Post on Making Flairs.  If you don't scrapbook or are not quite familiar with flairs, here is an example from Skipping 5:
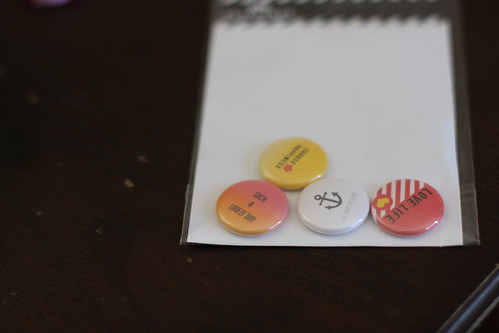
IMG_9296

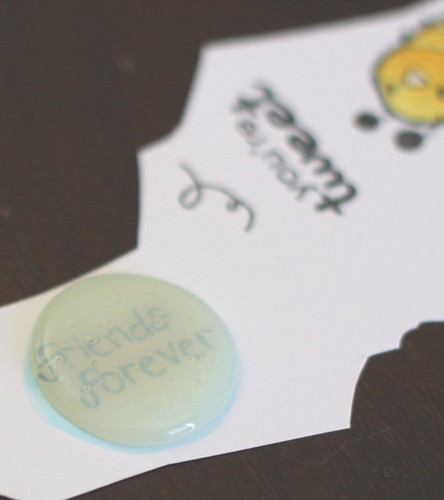
They make great embellishments for crafty projects, not only scrapbook lay-outs, but cards and altered items as well.  They kind of remind me of bottle caps in a way.  They are round, thick, and are very cute.

You can personalize and make your own using a flair maker.  But if you don't have hundreds of dollars to spend, you can also try these cheaper, similar alternatives.  What's good is you probably have these items in your craft room already.

You will need some round, epoxy stickers.  Or Glossy Accent glue.  Or the Epiphany button maker (I have Round 20 shown here) and its coordinating buttons.


IMG_9278

Gather up some Some Odd Girl images. I've used the clear critter stamps from Hey Kaylee and Gwen in Bloom and the swirls from Artist Mae.  I also shrunk a digital stamp - Tropical Mae, and will be using her top half.  You can leave the image uncolored, color them, stamp them on patterned paper, color the background, etc.  So many different options!
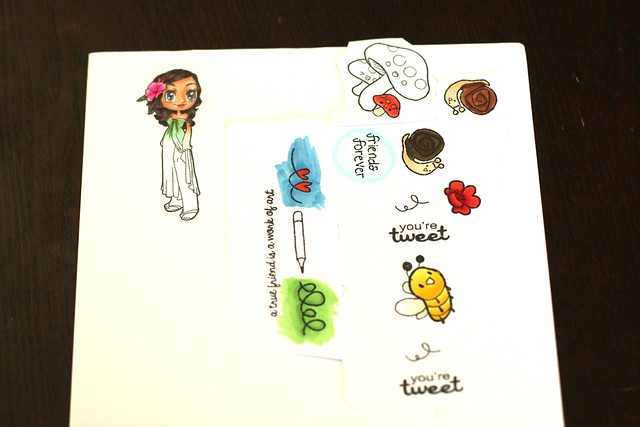
IMG_9279

The easiest ones are the stickers, of course.  Just line up and cut away!
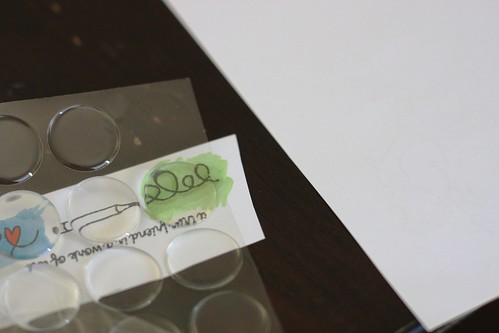
IMG_9288

For the glossy accent, squeeze the glue on the middle and do not stop to prevent air bubbles.  Also, less is more!
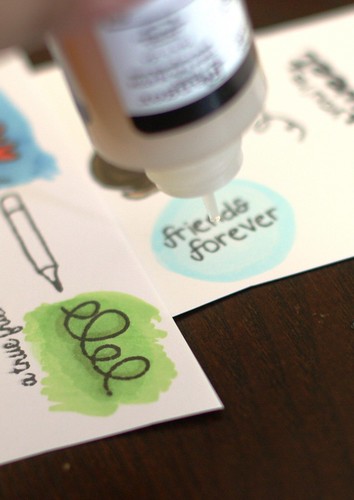
IMG_9290

Here's what it looks like:

IMG_9292

I ended up going over the part I wanted for Tropical Mae below, so i let it dry (8 hours overnight), and traced a circle on the back and proceeded to cut it out.  I ended up cutting into the glue part as well.
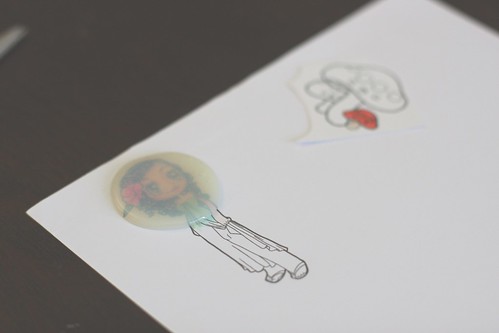
IMG_9293

Follow the instructions on the Epiphany button maker, which includes lining up image through that hole in the middle. 
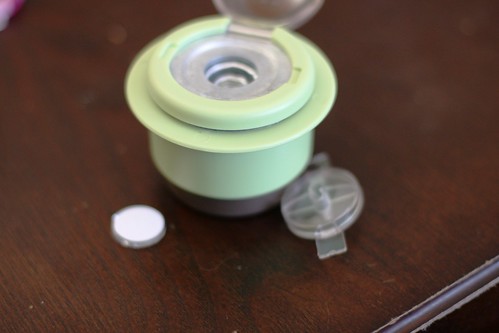
IMG_9294

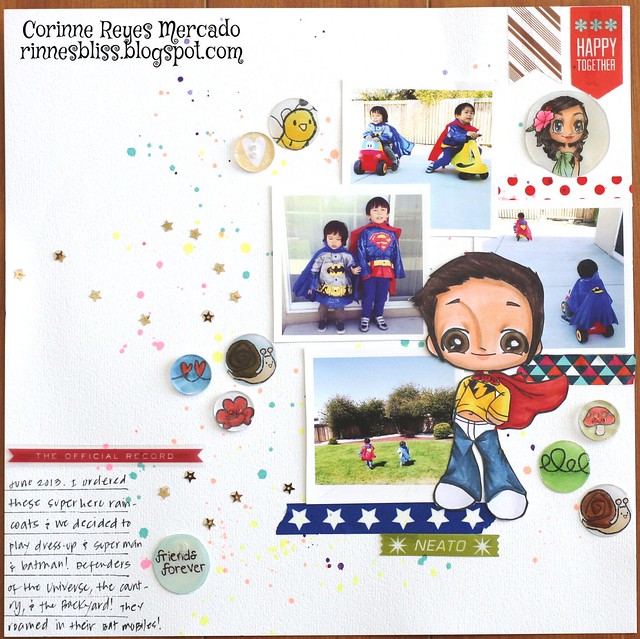
I decided to make a scrapbook lay-out that would house my flairs.  I am very much into ink splatter right now.
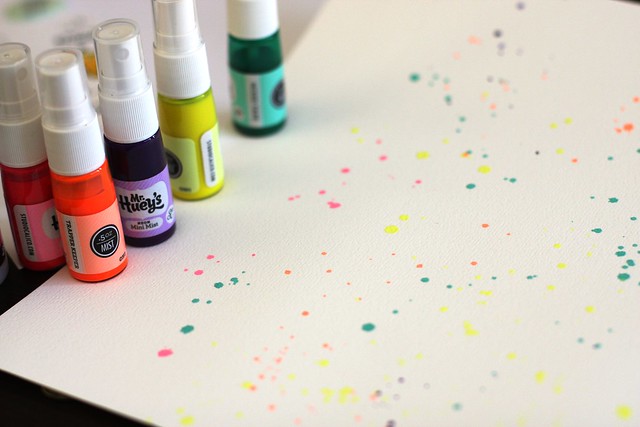

IMG_9295

And this is the finished product:

IMG_9302

Added some star glitter and washi tape with Super Tobie.  And of course, pics of the little tater tots in their SuperHero raincoats! 
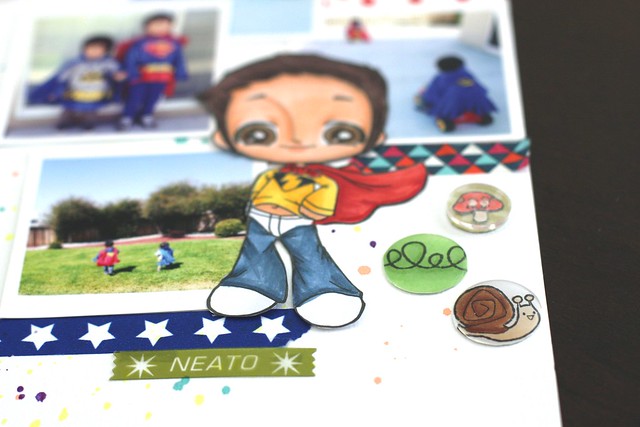
IMG_9306

Aren't the flairs a nice addition to all the backyard fun?  I love how they're different sizes as well!

IMG_9307

IMG_9309

Hope you enjoyed it!  SOG is having a whole week of tutorials so make sure you stop by everyday! 

Saturday, February 25, 2012

I Adore You.

IMG_4760

Good morning, everyone!

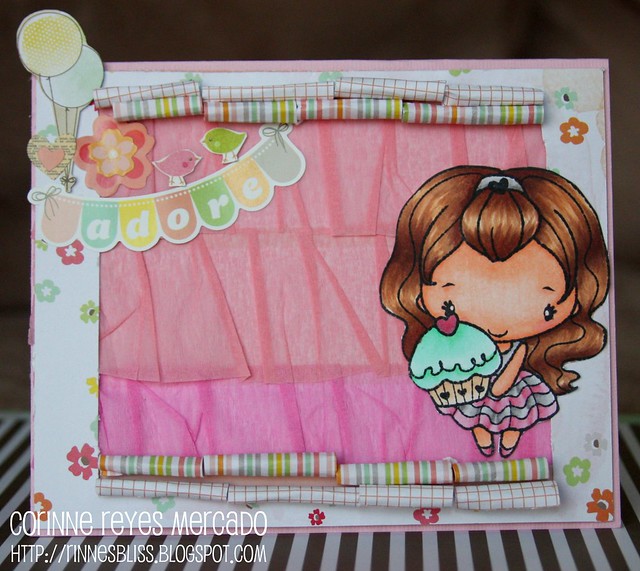
For my last post as The Greeting Farm's February Guest Design Team member, I wanted to make a Spring-themed card. I thought Birthday Anya II would be perfect for the new & sweet papers of Dear Lizzy's Neopolitan.

I used the same rolled paper technique that I did on one of the cards for my first post. See below for my quick tutorial.

I created this card using my favorite design methods -- layering embellishments and creating lots of textures! The background of ruffled crepe paper actually came like that -- it's from Dear Lizzy's new line from American Crafts. It was a bit tricky cutting it (make sure you don't cut the part where it's glued), but the result was worth it. Every supply is from that line except for the two birdies -- they are from Imaginisce.

I'm also trying out new color combinations for hair and skin. The hair combo is E50, E21, E23, E27, and I got it from the talented Arabella. For her skin, I didn't quite have all of the Copic shades. Hence, the result is that Anya looks a bit like she overdid it at the tanning salon, a la Jersey Shore style. Before I colored her hair, my sis said she looked like Snooki. Hahahahahaha!!!! I tried to correct it by using a colorless blender -- you can kinda see where I tried to take off some color (ooops!).

Aside from her skin, I'm loving the way her dress and its pleats turned out. I taught myself how to color ruffles in. I must say that I'm pretty proud of it :).

Anyway, here's a quickie on the rolled paper. Pics were taken by my phone so they're a bit blurry/ grainy.

Cut slits on your patterned paper. Make sure it's double-sided.


Take a paper piercer or lollipop stick, and roll the paper around it. You have to roll several times using your fingers and work in the fibers of the paper to make it more pliable.


Try to keep the rolls on different levels for a better layering effect.


Anyway, it's time for this girlie to go! Hope you have a wonderful day!