Spring Security provides the PasswordEncoder interface to securely store and verify user passwords in Spring Boot applications. Instead of storing passwords in plain text, passwords are encoded using secure hashing algorithms such as BCrypt, PBKDF2, SCrypt, and Argon2.
- Provides a standard way to encode and verify passwords during authentication.
- BCryptPasswordEncoder is commonly used for password encoding in Spring Security.
Need to Use PasswordEncoder
Using PasswordEncoder improves application security because:
- Passwords are stored in encoded form instead of plain text.
- Makes password cracking more difficult.
- Provides protection against common password attacks.
- Supports secure password verification during authentication.
- Spring Security can automatically use the configured PasswordEncoder while authenticating users.
Step-by-Step Implementation of Password Encoder
Follow the steps below to implement PasswordEncoder using Spring Boot and Spring Security.
Step 1: Create a Spring Boot Project
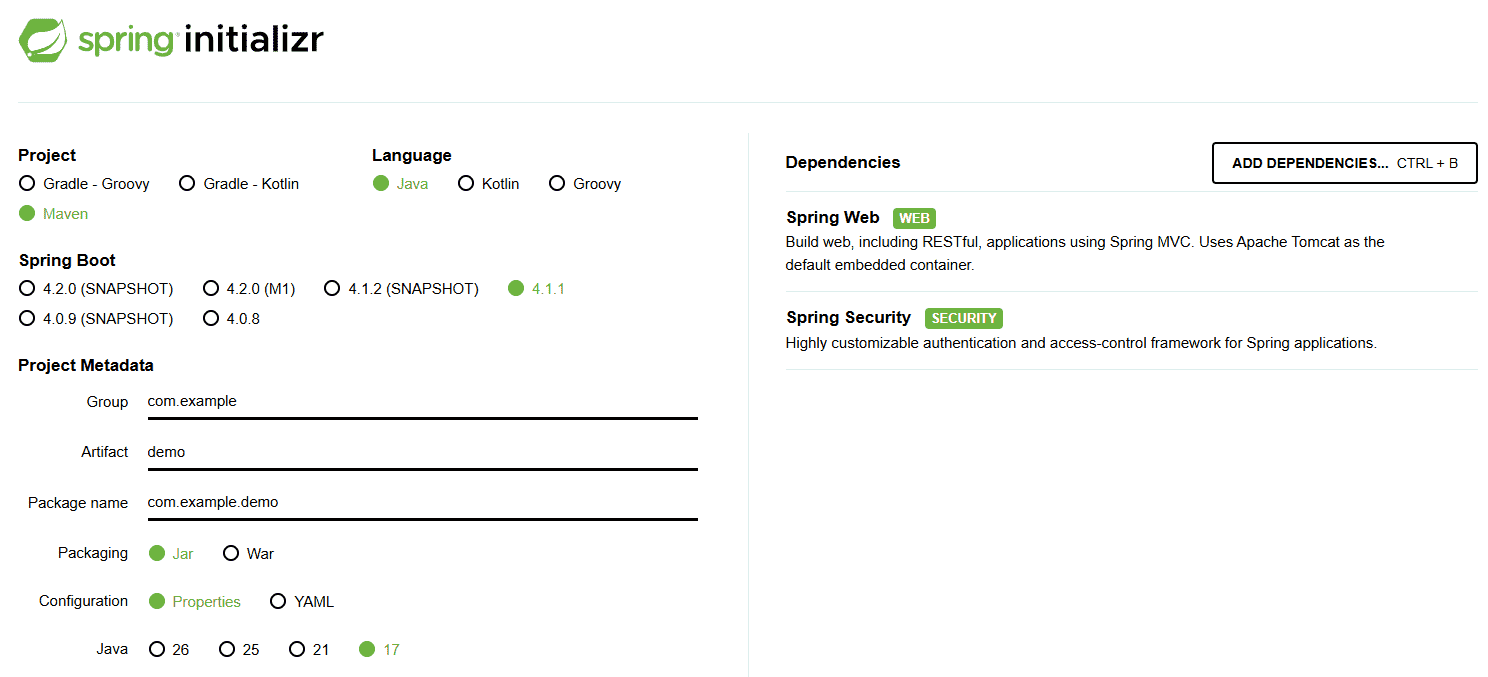
Use Spring Initializr to generate the Spring Boot project. Keep the project configuration:
- Project: Maven
- Language: Java
- Spring Boot: 3.3.1
- Packaging: JAR
- Java: 17
- Dependencies: Spring Web, Spring Security
Click on Generate to download the starter project.
Step 2: Add Dependencies to pom.xml File
Spring Boot provides the required Spring Security libraries through spring-boot-starter-security. Add the following dependencies:
<dependencies>

    <dependency>
        <groupId>org.springframework.boot</groupId>
        <artifactId>spring-boot-starter-web</artifactId>
    </dependency>

    <dependency>
        <groupId>org.springframework.boot</groupId>
        <artifactId>spring-boot-starter-security</artifactId>
    </dependency>

</dependencies>
Step 3: Configure Application Properties
Open the application.properties file inside add:
spring.application.name=password-encoder
server.port=8080
Step 4: Create the Spring Boot Main Class
Create the main class that starts the Spring Boot application.
PasswordEncoderApplication.java
package com.example.passwordencoder;

import org.springframework.boot.SpringApplication;
import org.springframework.boot.autoconfigure.SpringBootApplication;

@SpringBootApplication
public class PasswordEncoderApplication {

    public static void main(String[] args) {
        SpringApplication.run(PasswordEncoderApplication.class, args);
    }
}
Explanation:
- @SpringBootApplication enables Spring Boot auto-configuration and component scanning.
- SpringApplication.run() starts the application.
- Spring Boot automatically starts the embedded Tomcat server.
Step 5: Create Controller
Create a GfgController inside the controller package.
GfgController.java
package com.example.passwordencoder.controller;

import org.springframework.web.bind.annotation.GetMapping;
import org.springframework.web.bind.annotation.RestController;

@RestController
public class GfgController {

    @GetMapping("/gfg")
    public String helloGfg() {
        return "Hello GeeksforGeeks!";
    }
}
Explanation:
- @RestController marks the class as a REST controller.
- @GetMapping("/gfg") maps the /gfg URL to the helloGfg() method.
- The endpoint returns a simple text response after successful authentication.
Step 6: Configure PasswordEncoder
Create a SecurityConfig class inside the config package. Create a PasswordEncoder bean using BCryptPasswordEncoder.
SecurityConfig.java
package com.example.passwordencoder.config;

import org.springframework.context.annotation.Bean;
import org.springframework.context.annotation.Configuration;
import org.springframework.security.crypto.bcrypt.BCryptPasswordEncoder;
import org.springframework.security.crypto.password.PasswordEncoder;

@Configuration
public class SecurityConfig {

    @Bean
    public PasswordEncoder passwordEncoder() {
        return new BCryptPasswordEncoder();
    }
}
Explanation:
- @Configuration marks the class as a Spring configuration class.
- @Bean registers the PasswordEncoder object in the Spring container.
- BCryptPasswordEncoder uses the BCrypt hashing algorithm to encode passwords.
- Other components can inject this PasswordEncoder bean when password encoding or verification is required.
Step 7: Create Users and Encode the Password
Now configure an in-memory user and encode the password using the PasswordEncoder. Update the SecurityConfig class:
package com.example.passwordencoder.config;

import org.springframework.context.annotation.Bean;
import org.springframework.context.annotation.Configuration;

import org.springframework.security.core.userdetails.User;
import org.springframework.security.core.userdetails.UserDetails;
import org.springframework.security.core.userdetails.UserDetailsService;
import org.springframework.security.provisioning.InMemoryUserDetailsManager;

import org.springframework.security.crypto.bcrypt.BCryptPasswordEncoder;
import org.springframework.security.crypto.password.PasswordEncoder;

@Configuration
public class SecurityConfig {

    @Bean
    public PasswordEncoder passwordEncoder() {
        return new BCryptPasswordEncoder();
    }

    @Bean
    public UserDetailsService userDetailsService(
            PasswordEncoder passwordEncoder) {

        UserDetails user = User.builder()
                .username("gfg")
                .password(passwordEncoder.encode("gfg123"))
                .roles("USER")
                .build();

        return new InMemoryUserDetailsManager(user);
    }
}
Step 8: Configure Spring Security Filter Chain
Add a SecurityFilterChain bean to the SecurityConfig class.
package com.example.passwordencoder.config;

import org.springframework.context.annotation.Bean;
import org.springframework.context.annotation.Configuration;

import org.springframework.security.config.annotation.web.builders.HttpSecurity;
import org.springframework.security.crypto.bcrypt.BCryptPasswordEncoder;
import org.springframework.security.crypto.password.PasswordEncoder;

import org.springframework.security.core.userdetails.User;
import org.springframework.security.core.userdetails.UserDetails;
import org.springframework.security.core.userdetails.UserDetailsService;

import org.springframework.security.provisioning.InMemoryUserDetailsManager;
import org.springframework.security.web.SecurityFilterChain;

@Configuration
public class SecurityConfig {

    @Bean
    public PasswordEncoder passwordEncoder() {
        return new BCryptPasswordEncoder();
    }

    @Bean
    public UserDetailsService userDetailsService(
            PasswordEncoder passwordEncoder) {

        UserDetails user = User.builder()
                .username("gfg")
                .password(passwordEncoder.encode("gfg123"))
                .roles("USER")
                .build();

        return new InMemoryUserDetailsManager(user);
    }

    @Bean
    public SecurityFilterChain securityFilterChain(
            HttpSecurity http) throws Exception {

        http
            .authorizeHttpRequests(auth -> auth
                .anyRequest().authenticated()
            )
            .formLogin();

        return http.build();
    }
}
Explanation:
- SecurityFilterChain defines how incoming HTTP requests are secured.
- anyRequest().authenticated() requires authentication for the /gfg endpoint.
- formLogin() enables Spring Security's default login page.
- During login, Spring Security retrieves the user from UserDetailsService.
- It uses the configured PasswordEncoder to verify the entered password against the encoded password.
Step 9: Understand Password Verification
When the user enters the following credentials:
Username: gfg
Password: gfg123
Step 10: Run the Spring Boot Application
Run the PasswordEncoderApplication class as a Spring Boot App. The embedded Tomcat server starts automatically.
Url: http://localhost:8080/gfg
Since the /gfg endpoint requires authentication, Spring Security redirects the user to its default login page. The login URL will be similar to:
http://localhost:8080/login
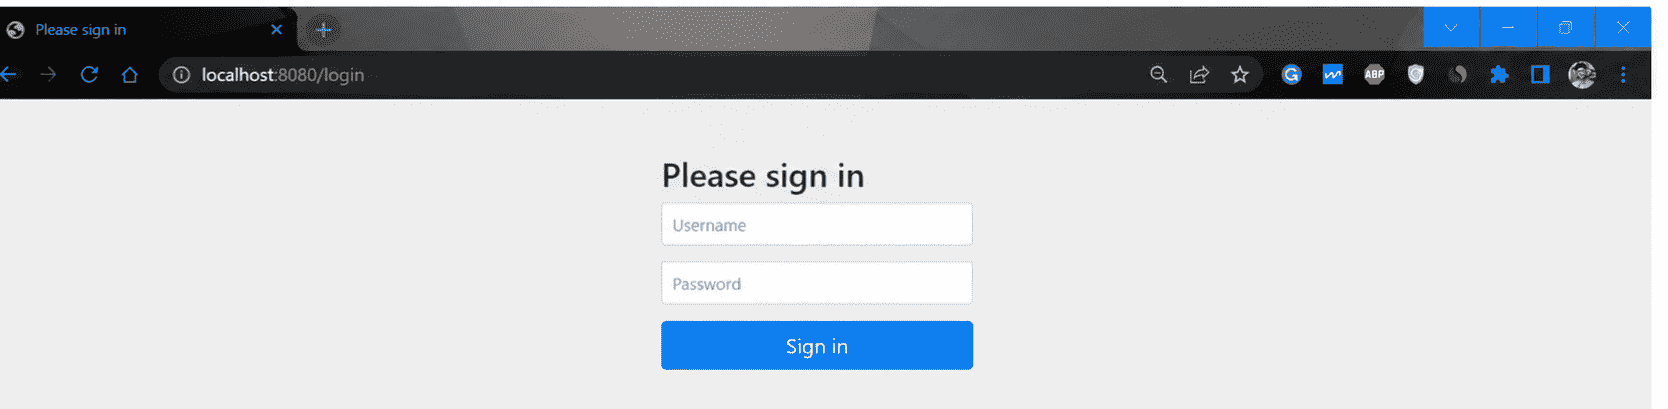
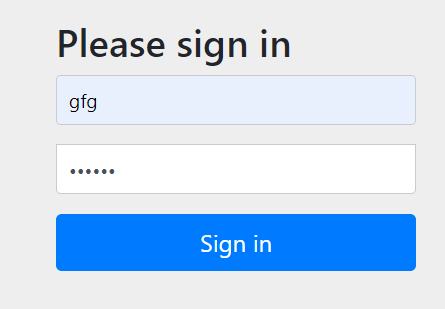
Enter the following credentials:
- Username:
gfg - Password:
gfg123
After successful authentication, Spring Security redirects the user to:
http://localhost:8080/gfg